Guess How Many

This is super easy and yet super fun for kids. Find a cool clear vessel and fill it with some candy. One year, we used double bubble gum, another year we used candy corn. The only time consuming part of this activity is counting the candy! You need to know exactly how many pieces of candy go into the vessel. 

Then put it out as part of your party decor along with a sign letting guests know they can offer up a guess on how many candies there are. Be sure to leave some paper and pens or pencils plus a bowl or box for entries. If you have younger kids playing, I would actually print out voting ballots with a line for their name and a line for their guess. That way you are more likely to be sure they will write their name on the ballot instead of making an anonymous vote :-) 

At a certain time, close voting and then look at each ballot and the winner is whoever is closest without going over. You could make the prize all the candy but then the winner's parent would probably be unhappy. I usually have toy or special candy as the prize. 

Enlist some kids to work with you while you go through the votes, they love to help with it!! 

Fill Ideas:


NOTE: In order to help support this site, we are an affiliate of a curated group of companies and receive a small commission on some sales through our site. Please be assured that we only recommend products we truly love. Take a look at our "Shop Partners" section to see who we have partnered with. Not all recommendations are from partner companies as we recommend all things we love regardless of whether we are partnered or not to bring you the best recommendations possible. 

Face Paint

If you love Halloween as much as I do, invest in a professional quality set of face paints. They will also come in handy for children's parties or theme days at school. 

Mehron is great brand to go with. The quality is high and they are easy to use. I love love love this large set if professional face paint palettes. It has a great color selection and is so easy to use. Merely wet a paint brush and rub it into the color you want adding a little more water if desired. 

For our Day of the Dead make-up we used Mehron's Clown White cream to create a pale base, and then followed with some black Sephora eyeliner around each eye. I painted flower petals around our eyes using a red from the Mehron Palette. Noses were done with a eye liner as well. I went over the black eye liner with some shimmery black eye shadow to give them more depth. Teeth, flower outlines and spider webs were done with a liquid liner. Our makeup stood up all night! Using professional quality products makes a difference.

This particular costumer make-up is a bit tricky and takes time. Look up some you tube videos to watch tutorials (there are many), then come up with your own design and be sure to do a practice run before the big day. 

We went all out last Halloween, but these kits are great for even simple halloween make-up goals.


IMG_5696.jpg

Graveyard Cups (Gluten Free)

We host an annual Halloween Party for my daughter's friends and so that every child can have the same dessert, I needed one that was nut, egg and gluten free. Graveyard Cups to the rescue! 

With everything else I need to do for party prep I opt for pre-made components so I can simply assemble and still have a tasty and impactful halloween treat. 

Ingredients

Chocolate Sandwich Cream Cookies
Oreos (Egg and nut free) OR Gluten Free KinniTOOs for a GF option

Chocolate Pudding
I used Kozy Shack Chocolate Pudding which is delicious and gluten, nut and egg free. Plus it is widely available. If you have a favorite recipe, feel free to make you own!

Embellishments
One year I used these chocolate tombstones from Elle's Sweets on Etsy. They are gluten free and Elle's sweets never uses peanuts in her molds but per the chocolate manufacture the chocolate may contain peanuts due to shared equipment.* 
This year I will these skeleton bones from C&KSweetShoppe on Etsy. All of their products are gluten free and they have a separate dedicated room to work in for nut free requests, which they get often.*
For a really young crowd, gummy works would be fun. 

Cup to serve in
I like clear 9oz cups so you can see the pudding and dirt (cookie) through the cup. But small black or orange cups would be cute too. 

Directions

Put cookies into a zip-lock bag and crush with the back of a large spoon or a rolling pin. I usually start with a rolling pin and then fine tune with the back of a large spoon. 

Now it is as easy as assembling them. To make it easier, put out your cups, put the crushed cookies in a bowl with a spoon, have your embellishments at the ready and open up the pudding(s). 

Fill each cup with pudding to about 1/2 to 2/3 full. Sprinkle on some crushed cookie to give your dirt texture and dimension. Then add your embellishments. 

Serve! 

One note, if the crumbled cookie sits on the pudding for long it will start to soften. If you want to get a head start and have the fridge room, you could prefill the cups with pudding but leave the rest to just before serving. 

* Please always confirm directly with the producer or on packaging whether or not any items are truly gluten, nut or egg free if those are requirements. Things can change so please do not reply only on my comments.

Day of the Dead Marshmallows

These are so fun and so easy! All you need are some lollipop sticks, marshmallows, edible markers and imagination. 

Simply push a marshmallow onto a stick and decorate away! Day of the Dead images offer of lots of inspiration, but anything goes - bats, spiders, jack-o-lantern - anything! 

I suggest drawing a couple examples as inspiration. 

Here are a couple sources on Amazon:


Skeletons

Mr Bones in our home, ready for the party

Mr Bones in our home, ready for the party


Skeletons quietly scream Halloween. There are a number of relatively inexpensive yet good quality skeletons on the market right now that would really add to any Halloween decor. Here are a few we like a lot. 

Human Skeleton
This skeleton is posable! We plan to either sit him a chair indoors so he can just relax and keep guests company as they arrive, that is if we can spare a chair, or we will set him up outside in our backyard at a dining table with a top hat and a deck of all black playing cards. Perhaps he will entice some guests into sitting down for a game. 

Cat Skeleton
One option for this cat is to sit in the lap of our human skeleton, another is to sit by the door to startle people as they enter the party. 

Raven Skeleton
This one is going on the mantle above our fireplace, perfectly perched to watch over everyone at the party. 

Rat Skeleton
This little rat is scary looking. He will go in a random unexpected corner or on a bookshelf. 

Shrunken Skulls
We have taken inspiration from The Project Girl and plan on putting these skulls in a large vase with a label "Shrunken Heads". Love them in a wood trunk as styled below by Pottery Barn. We will also use some of her downloads to make labels for various other vessels. 

SHrunken Skull images from Pottery Barn

SHrunken Skull images from Pottery Barn

Bats everywhere!

An easy and great way to make an entire room look dressed for halloween is to add black bat cutouts to the wall. Get some back paper, ideally with different finishes, e.g. plain, velvet, glitter, to have more dimension. Then search online for bat clipart. Pick one you like and print it out. Cut out the bat form and then trace it onto the backside of your black paper. Cut the traced bats out of the paper, you can likely do up to 3 at a time. Tape onto your wall with tape you know will come off easily. 

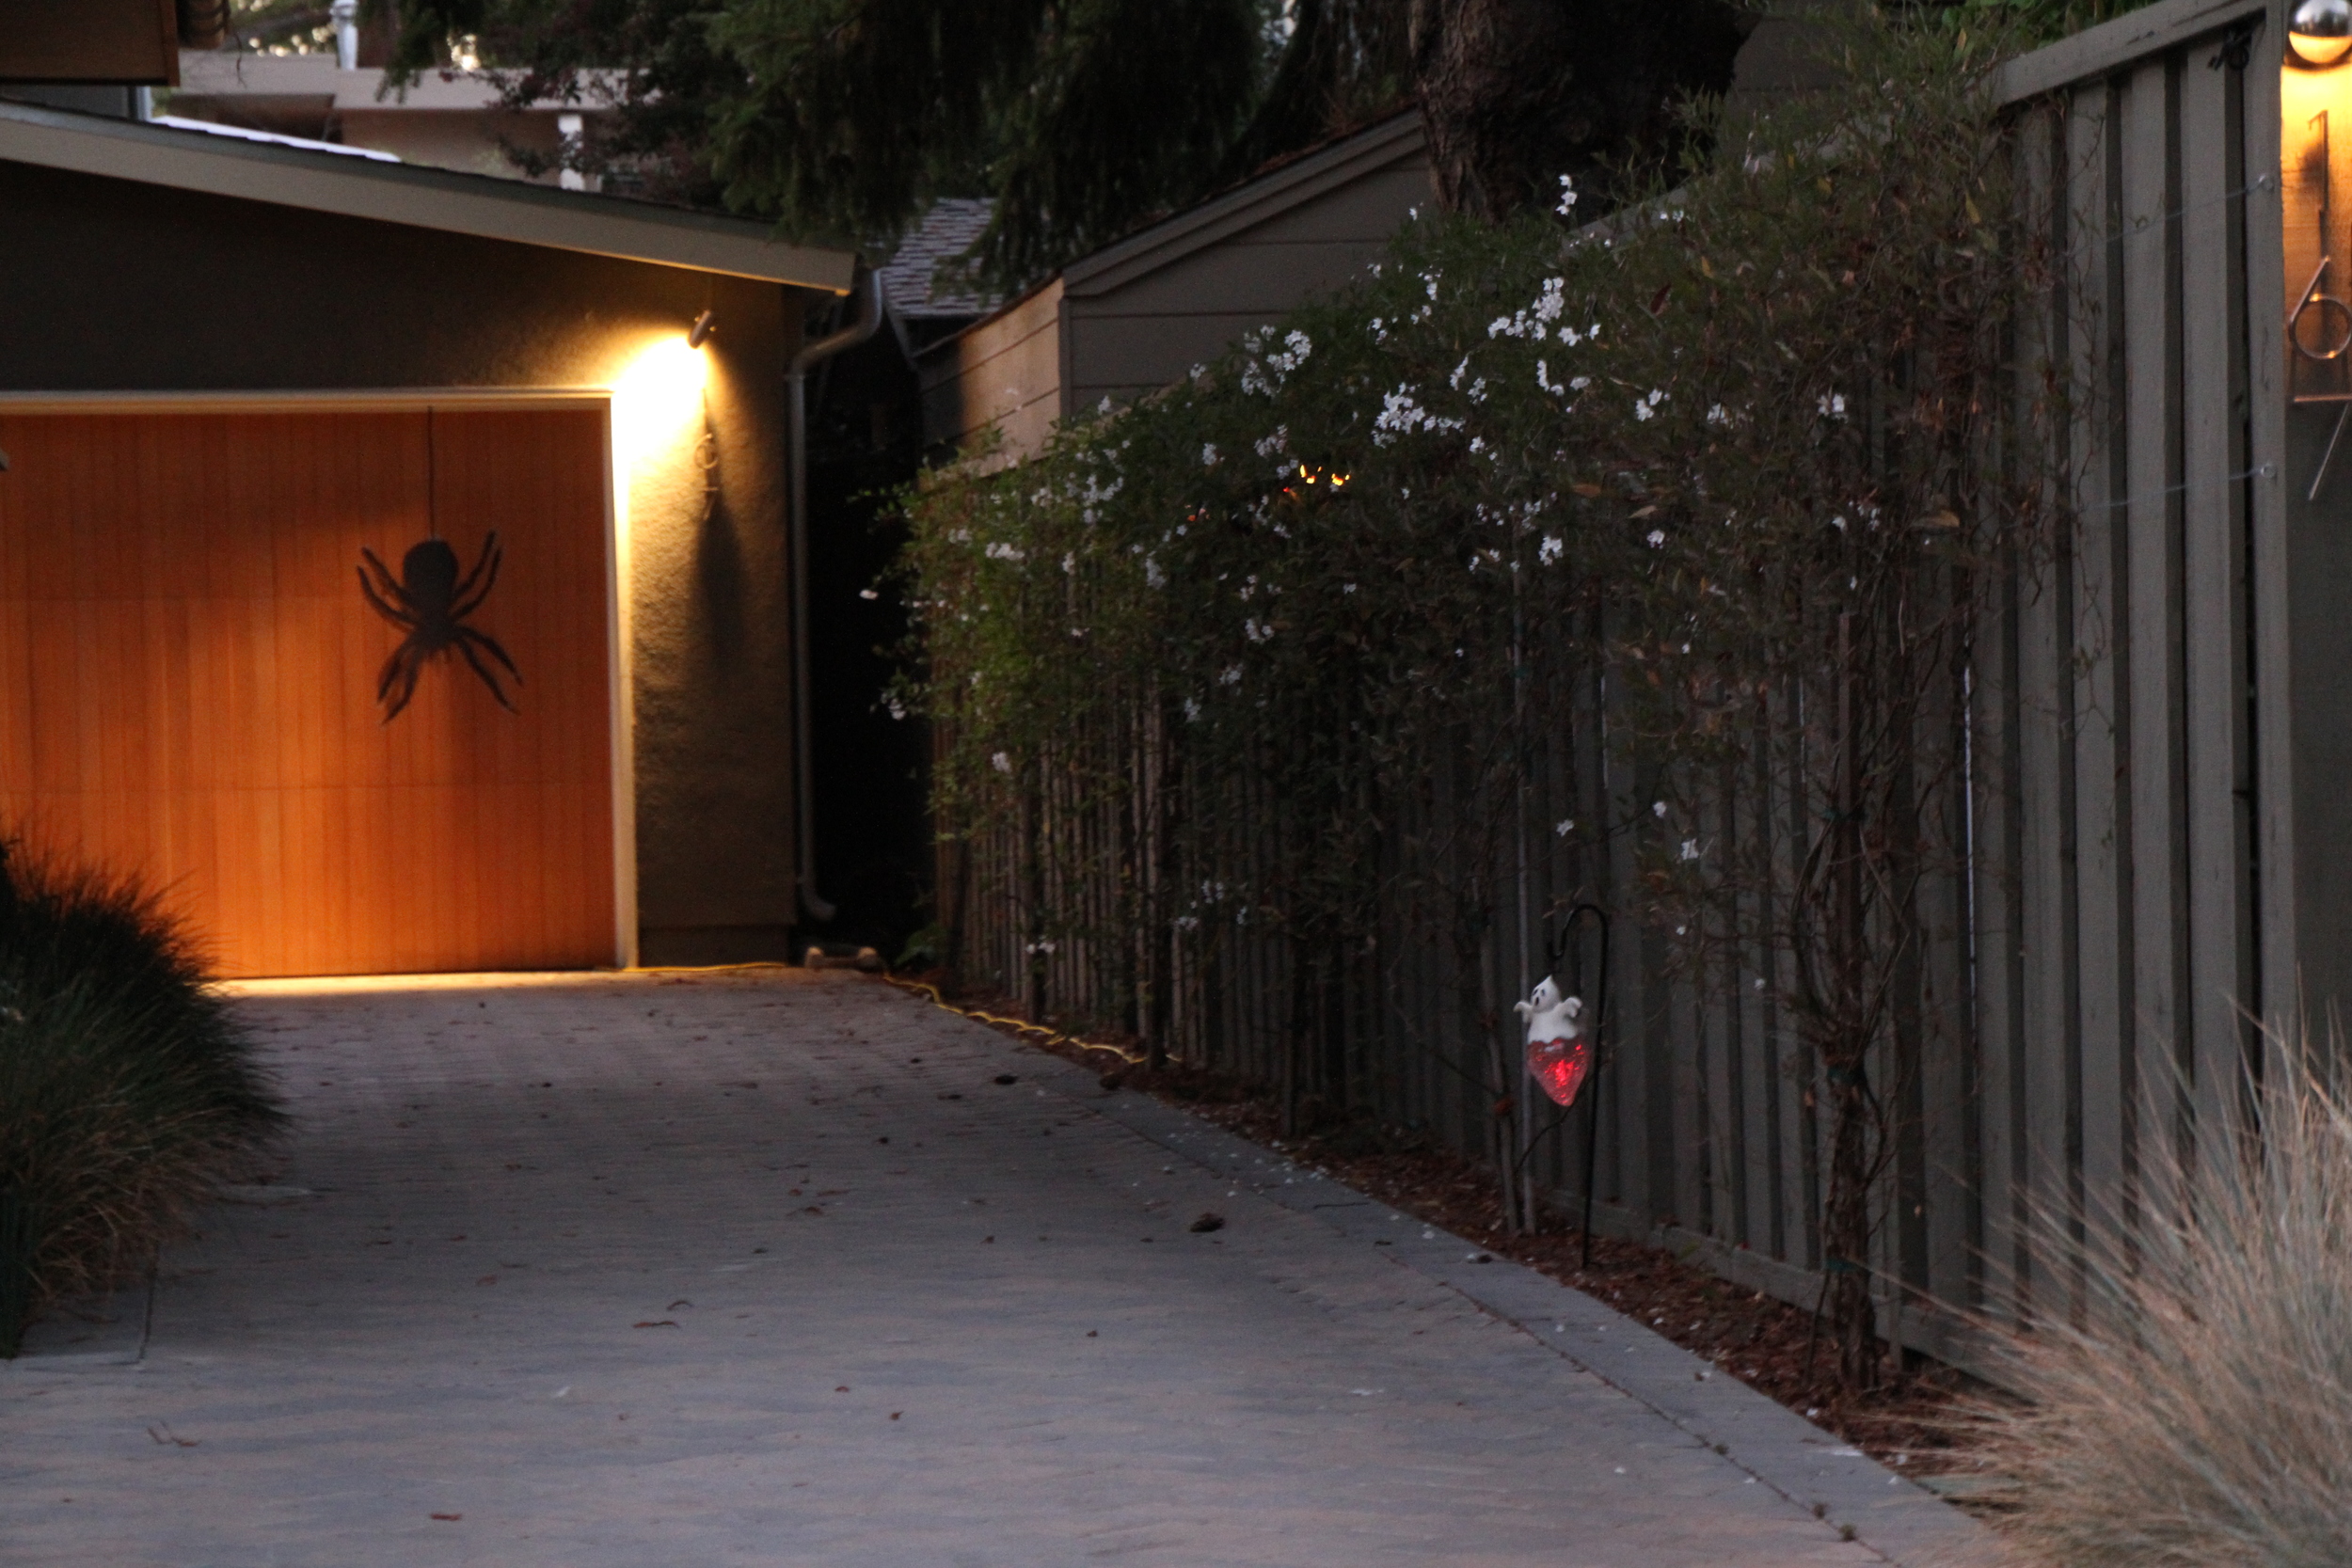
Giant Spider

So simple to make and yet very impactful. Just go online and find a spider clipart that you like. Buy a large piece of black cardboard. Using a white colored pencil replicate the spider clipart onto the cardboard, be sure to scale it up so you end up with a large spider. Try to fill the entire piece of cardboard! Then cut out and presto you have an awesome piece to stick on the wall to decorate for halloween. 

Use leftover cardboard or some black yard to add to the spider to make it look like it is hanging from a web. 

IMG_6817.JPG

Mini-pumpkin Decorating

An easy and fun way to occupy young children at any Halloween gathering. Simple get at least one little pumpkin per child (best to have a few extra) and a few fun markers. Metallic ones work really well for an extra special feel. Use the pumpkins are part decor to start off with and then when ready, invite each child to take one and decorate it. If you have very young children you might want to also offer some stickers for them to use instead of markers. Encourage them to write their names on the bottom so they remember which is theirs when it is time to go home. They make a great party favor too.


Edible Broomsticks

What you'll need

  • 6  String cheese sticks 
  • Thin pretzel sticks

Directions

  • Unwrap and cut each cheese stick into thirds.
  • Using a small, sharp knife, fray one end of a of cheese by making small cuts on just one end and feathering them out a little. Be careful not to cut too high or the cheese won't hold together when the pretzel is added. 
  • Insert the pretzel into the non-frayed end of the cheese very carefully so as to not break the cheese.
  • Repeat until you have used all of the cheese pieces. 
  • Don't be dismayed if a few do not work and the cheese breaks apart, it is inevitable. 
  • If you'd like to get extra fancy and have the time, tie a piece of chive to the top of the cheese, just below where it connects with the pretzel, it will make them look more like a broom and likely give them a bit more structural integrity. 

Clementine Pumpkins

Super cute, super easy to make and a nice healthy treat. 

What you'll need

  • 12  Cutie/Mandarin Orange or Clementine (Or one per guest, or enough to fill a platter and put the rest in a nearby bowl)
  • 1 celery stalk

Directions

  • Cut celery into small pieces, to resemble a stem as in the picture.
  • Peel oranges. If doing so much before the party, cover so they do not dry out. 
  • Stick the stem in the top center of each orange and arrange on a platter.
Clementine-Pumpkins.jpg