
INSTANT POT BRISKET (nightshade free, gluten free, dairy free)
/
Nightshade free, gluten free, dairy free (aside from ghee which can be substituted)
Read MoreNightshade free, gluten free, dairy free (aside from ghee which can be substituted)
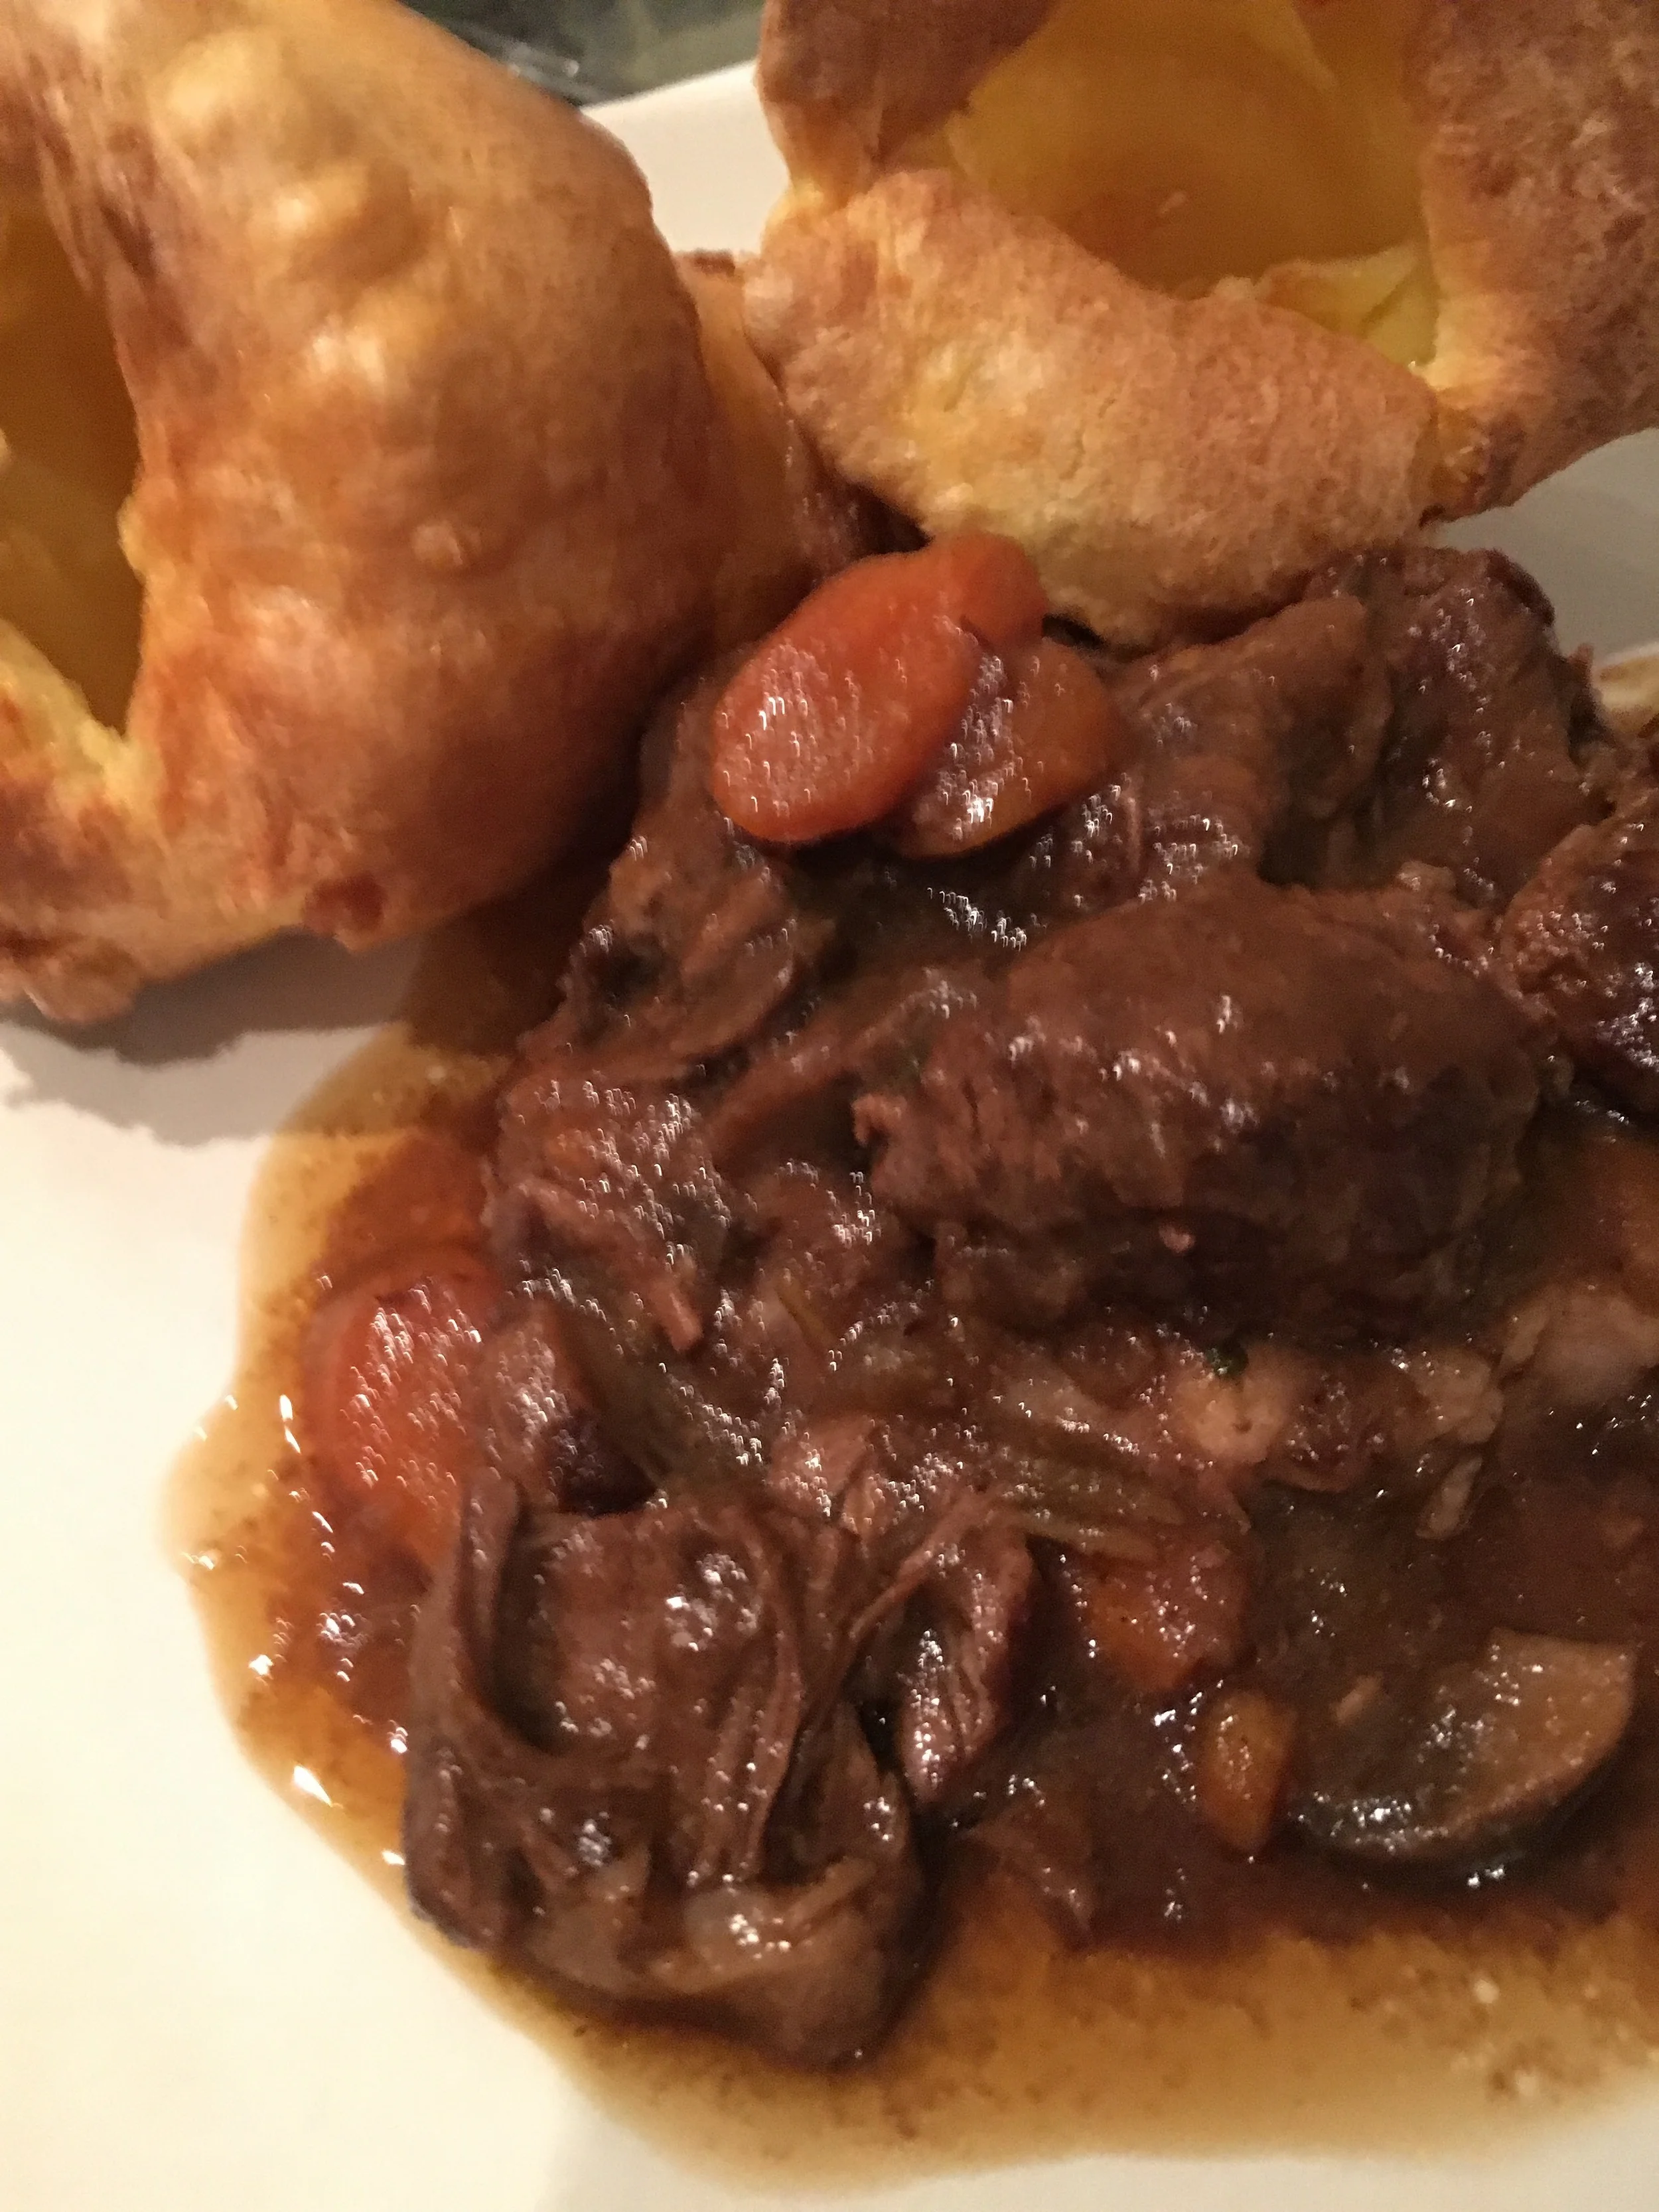
Read MoreCold winter days call out for rich and hearty beef stew.
Read More
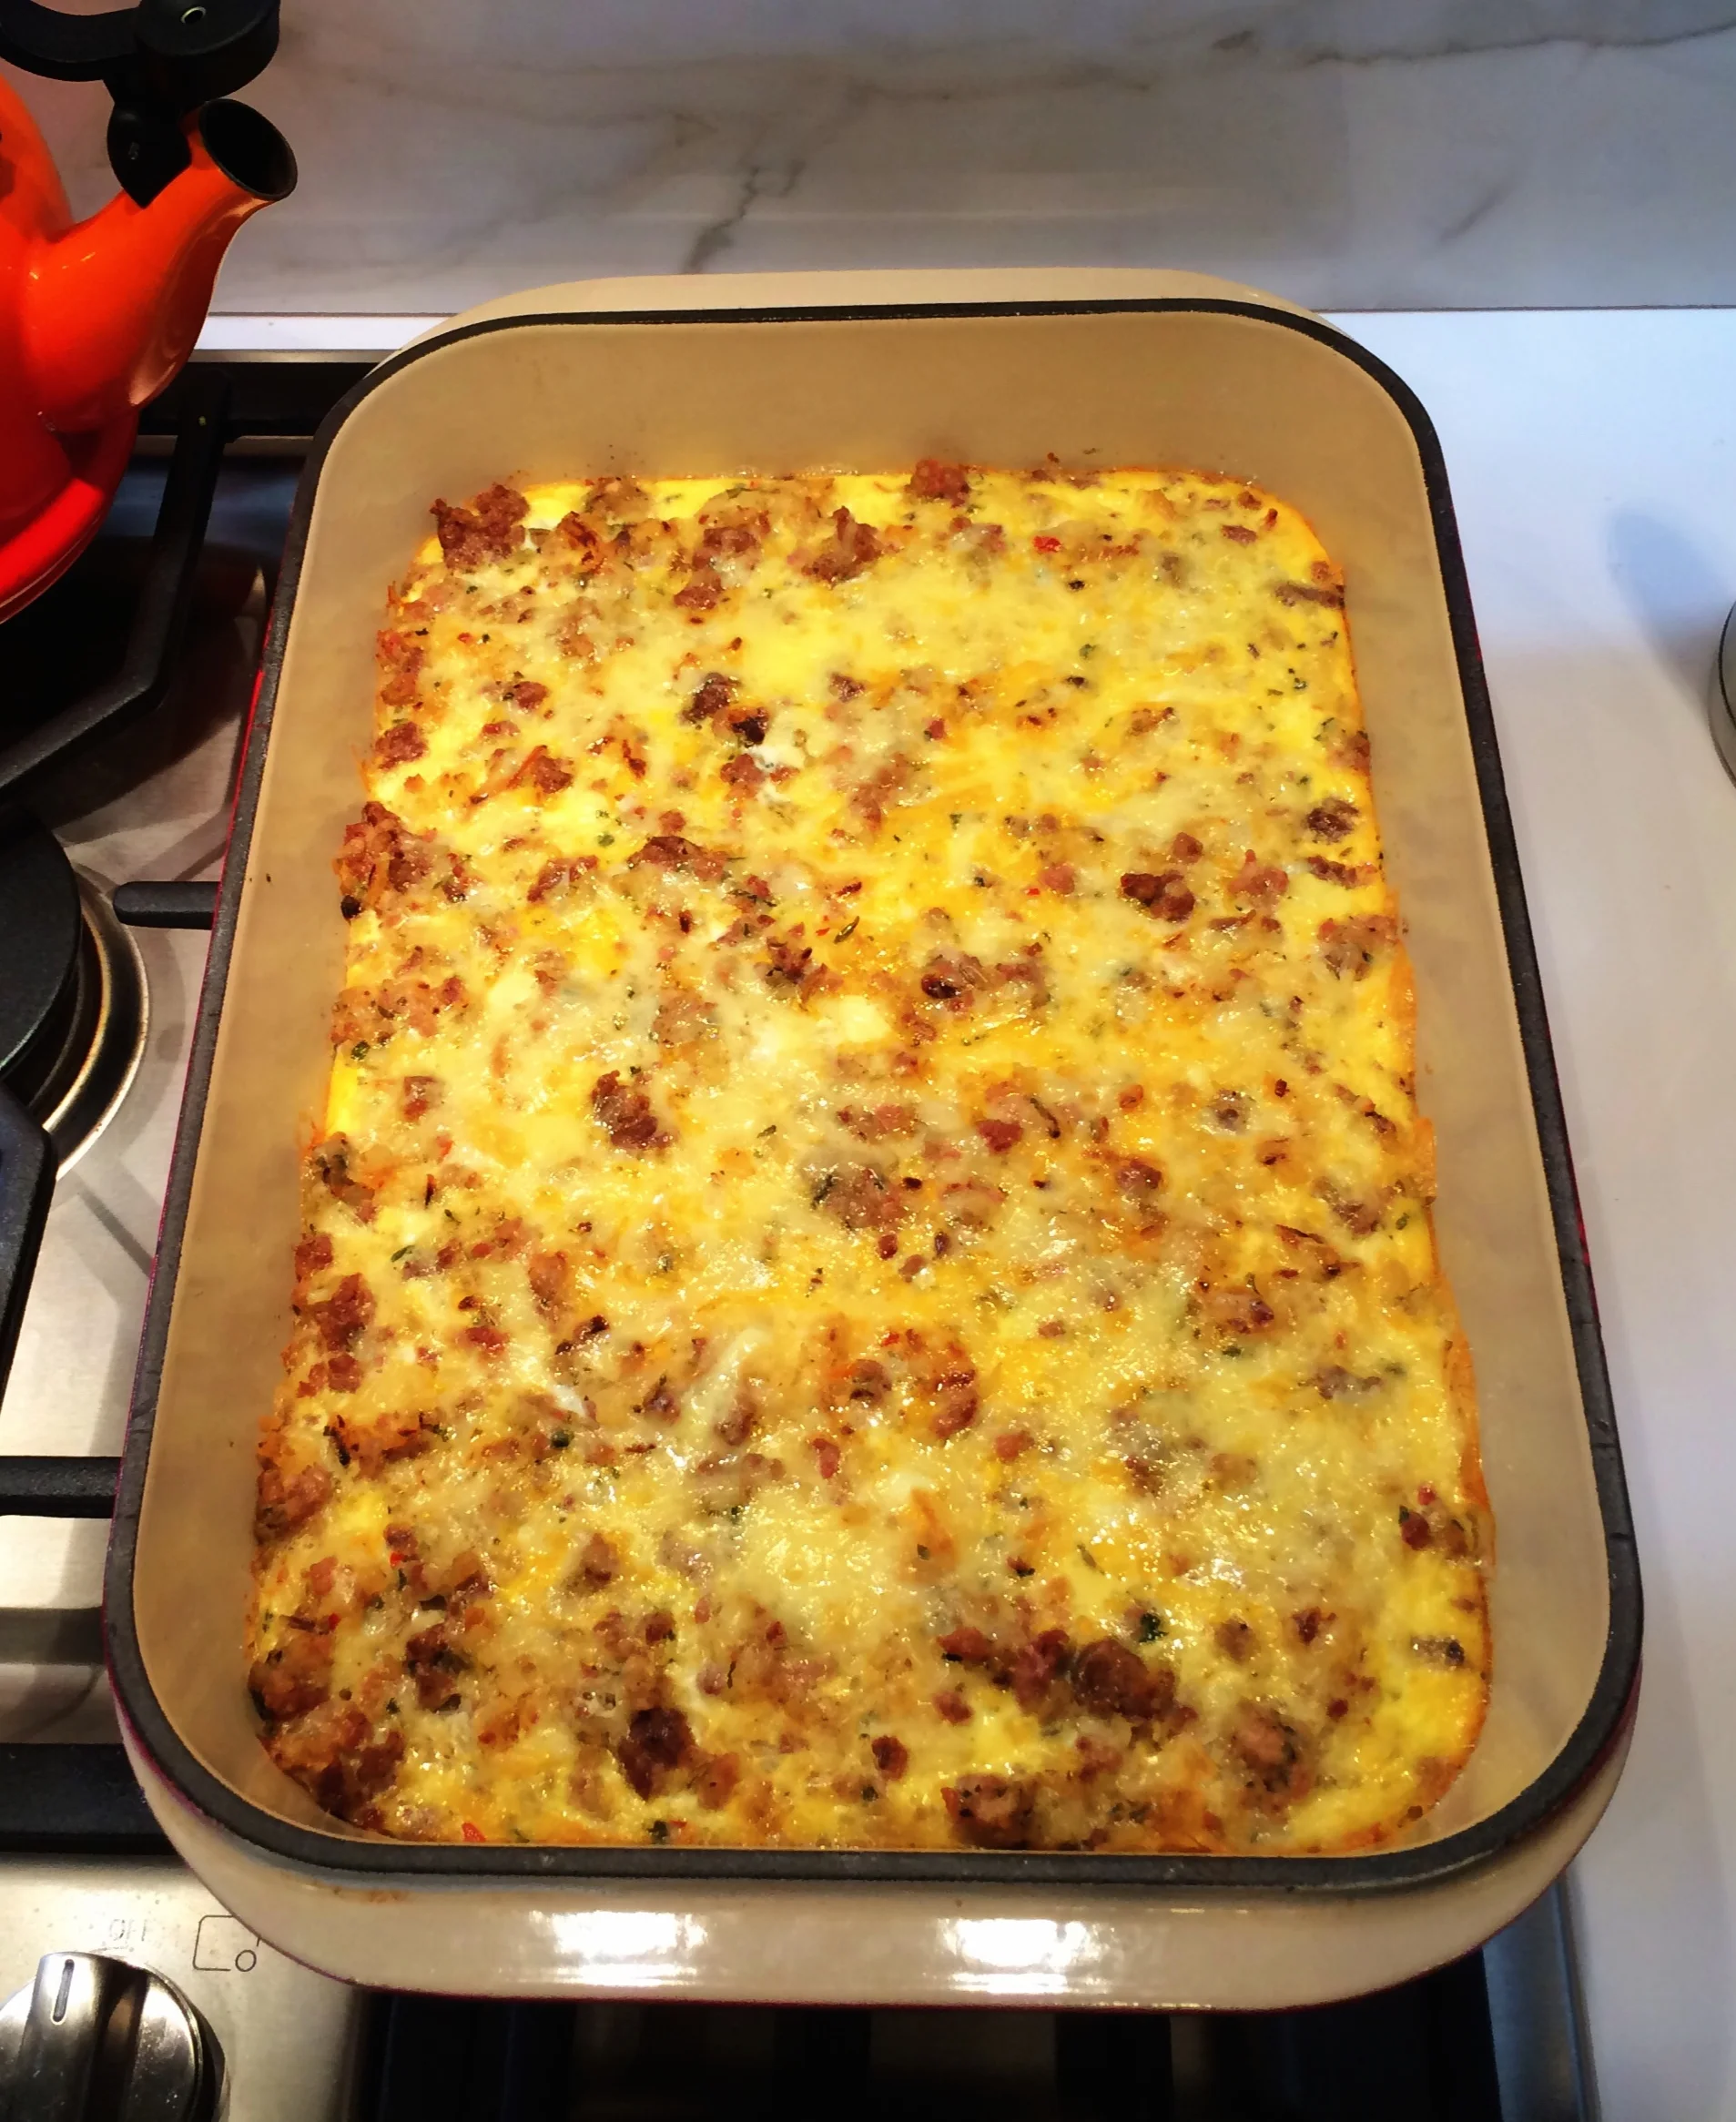
Part of our Easter Brunch spread
Quiche is such a versatile dish to have in your repertoire . They are great for an easy weeknight dinner with a little side salad or as part of weekend brunch gathering spread. I love to serve them at larger gatherings because they are great room temperature, and it is so helpful if you don't have to worry about keeping something warm. It is also easy to make meat filled or vegetarian versions. You can even keep it gluten free by using a gluten free pie shell.
This is a basic recipe that where you fill in the blanks with your favorite fillings. For large gatherings, we usually make two so we have one with bacon and a veggie only version.

Ready for the egg mixture to be poured in. When cooking 2, it makes it easier to move in and out of the oven if you place them on a baking sheet.
3/4 cup cooked filling (not including eggs or cheese) - whatever you want to put in in, e.g. asparagus/onion/thyme, bacon/broccoli/onion, mushroom/onion or shallots
5 - 6 eggs
1 cup shredded gruyere
¾ cup half and half
Pie shell (feel free to use frozen store bought, it make everything so easy!)
Salt to taste
Preheat oven to 375°F.
Prepare your 3/4 cup of filling
Cook your filling so you end up with about 3/4 cup worth of filling. If you use asparagus or broccoli parboil them for a just a few minutes to soften just a little. If you are using bacon, slice the bacon into strips and then pan fry until crispy. Remove the bacon from the pan onto a plate or bowl lined with a paper towel to absorb excess oil. Then sauté the rest of your filling adding a little salt to taste (if using onions, get that started before your other vegetables) until everything is cooked. Set aside.
Prepare the eggs and cheese
Whisk eggs and half & half together with a little salt.
Grate cheese.
Assemble and bake
Spread most of the cheese on the bottom of the pie shell (which you can use from frozen), layer filling, then pour the egg mixture on top. Sprinkle remaining cheese on the top.
Bake in the middle of your oven for 30 - 35 minutes until it looks firm and done. Test by poking something in the middle. Let sit for at least 15 mins before serving to finish setting.

Photo Credit: Betty FONG

This is super simple yet the rewards ample. You simply baste the ham as it warms and crisps up in the over with a basic glaze, which will has the added benefit of scenting the air with deliciousness enticing everyone as soon as they walk in the door. It presents well on a cutting board and it yummy warm or cold. For my family it has always accompanied our Easter meal, and sometime other holiday gatherings like Thanksgiving or Christmas. It is also the perfect anchor for any large weekend brunch.
Smoked Ham
Buy the best ham you can buy, preferably local and pasture raised. It might be more expensive but it really matters as far as nutrition, flavor, texture and of course for sustainability and animal welfare.
Glaze (courtesy of my aunt Michelle)
1 cup honey
1/2 cup brown sugar
1 teaspoon ground ginger
1 teaspoon dry mustard
1/2 teaspoon cinnamon
(though I will admit, the last time we made it we left out the ginger and mustard and it was still awesome)
Take your ham out of the fridge for 2 hours before you plan to put it in the oven. It will cook better and more evenly at room temperature.
Preheat your oven to 280°F. Place your ham on the bottom of a roasting rack. I put the ham right in the rack when I pull it out of the fridge to warm up so it's ready to go later.
Measure out all of the glaze ingredients into small sauce pan and warm gently to combine into a very thick syrup.
Baste the entire ham with the glaze using a basting brush or baster. The glaze should be thick so it sticks to the ham versus running off. But it if is too thick to even work with, you can thin by working in a little warm water.
Cook the glazed ham for about 12 minutes per pound, glazing every 20 - 30 minutes. If toward the end of the cook time it isn't getting crispy on the outside you can increase the temperature a bit to create a nice crispy exterior.
Let stand until it is cool enough to touch. Then slice on a cutting board and serve. Unless you are portioning out individual plates, I recommend slicing only a portion of the ham to start and then slicing a bunch more as needed. Take a look at the photos to see what I mean. It helps the meat not dry out too much before it is eaten and it looks great. You can leave it on the cutting board if you have a nice one, or transfer to a plate.

Photo Credit: Kasia Bloom of PROJEKT BLOOM
It is great with mashed or roasted potatoes and Roasted Carrots with Parsley Mint Yogurt Sauce. For a brunch buffet, like the Easter one we had over the weekend, I like to put out a couple types of mustard and some fresh mini rolls so our guests can make little ham sandwiches if they wish. It's a nice option to add a starch yet nothing that needs much effort or to be kept warm, like mashed or roasted potatoes.
A snap to make, gorgeous and delicious. Leftovers are good for a few days. Especially great when you have overnight guests so everyone can enjoy it at least one more time.
Read MoreWonderful brunch dish, especially for groups.
Read More
Easter 2018 - Buffet Brunch for a large crowd
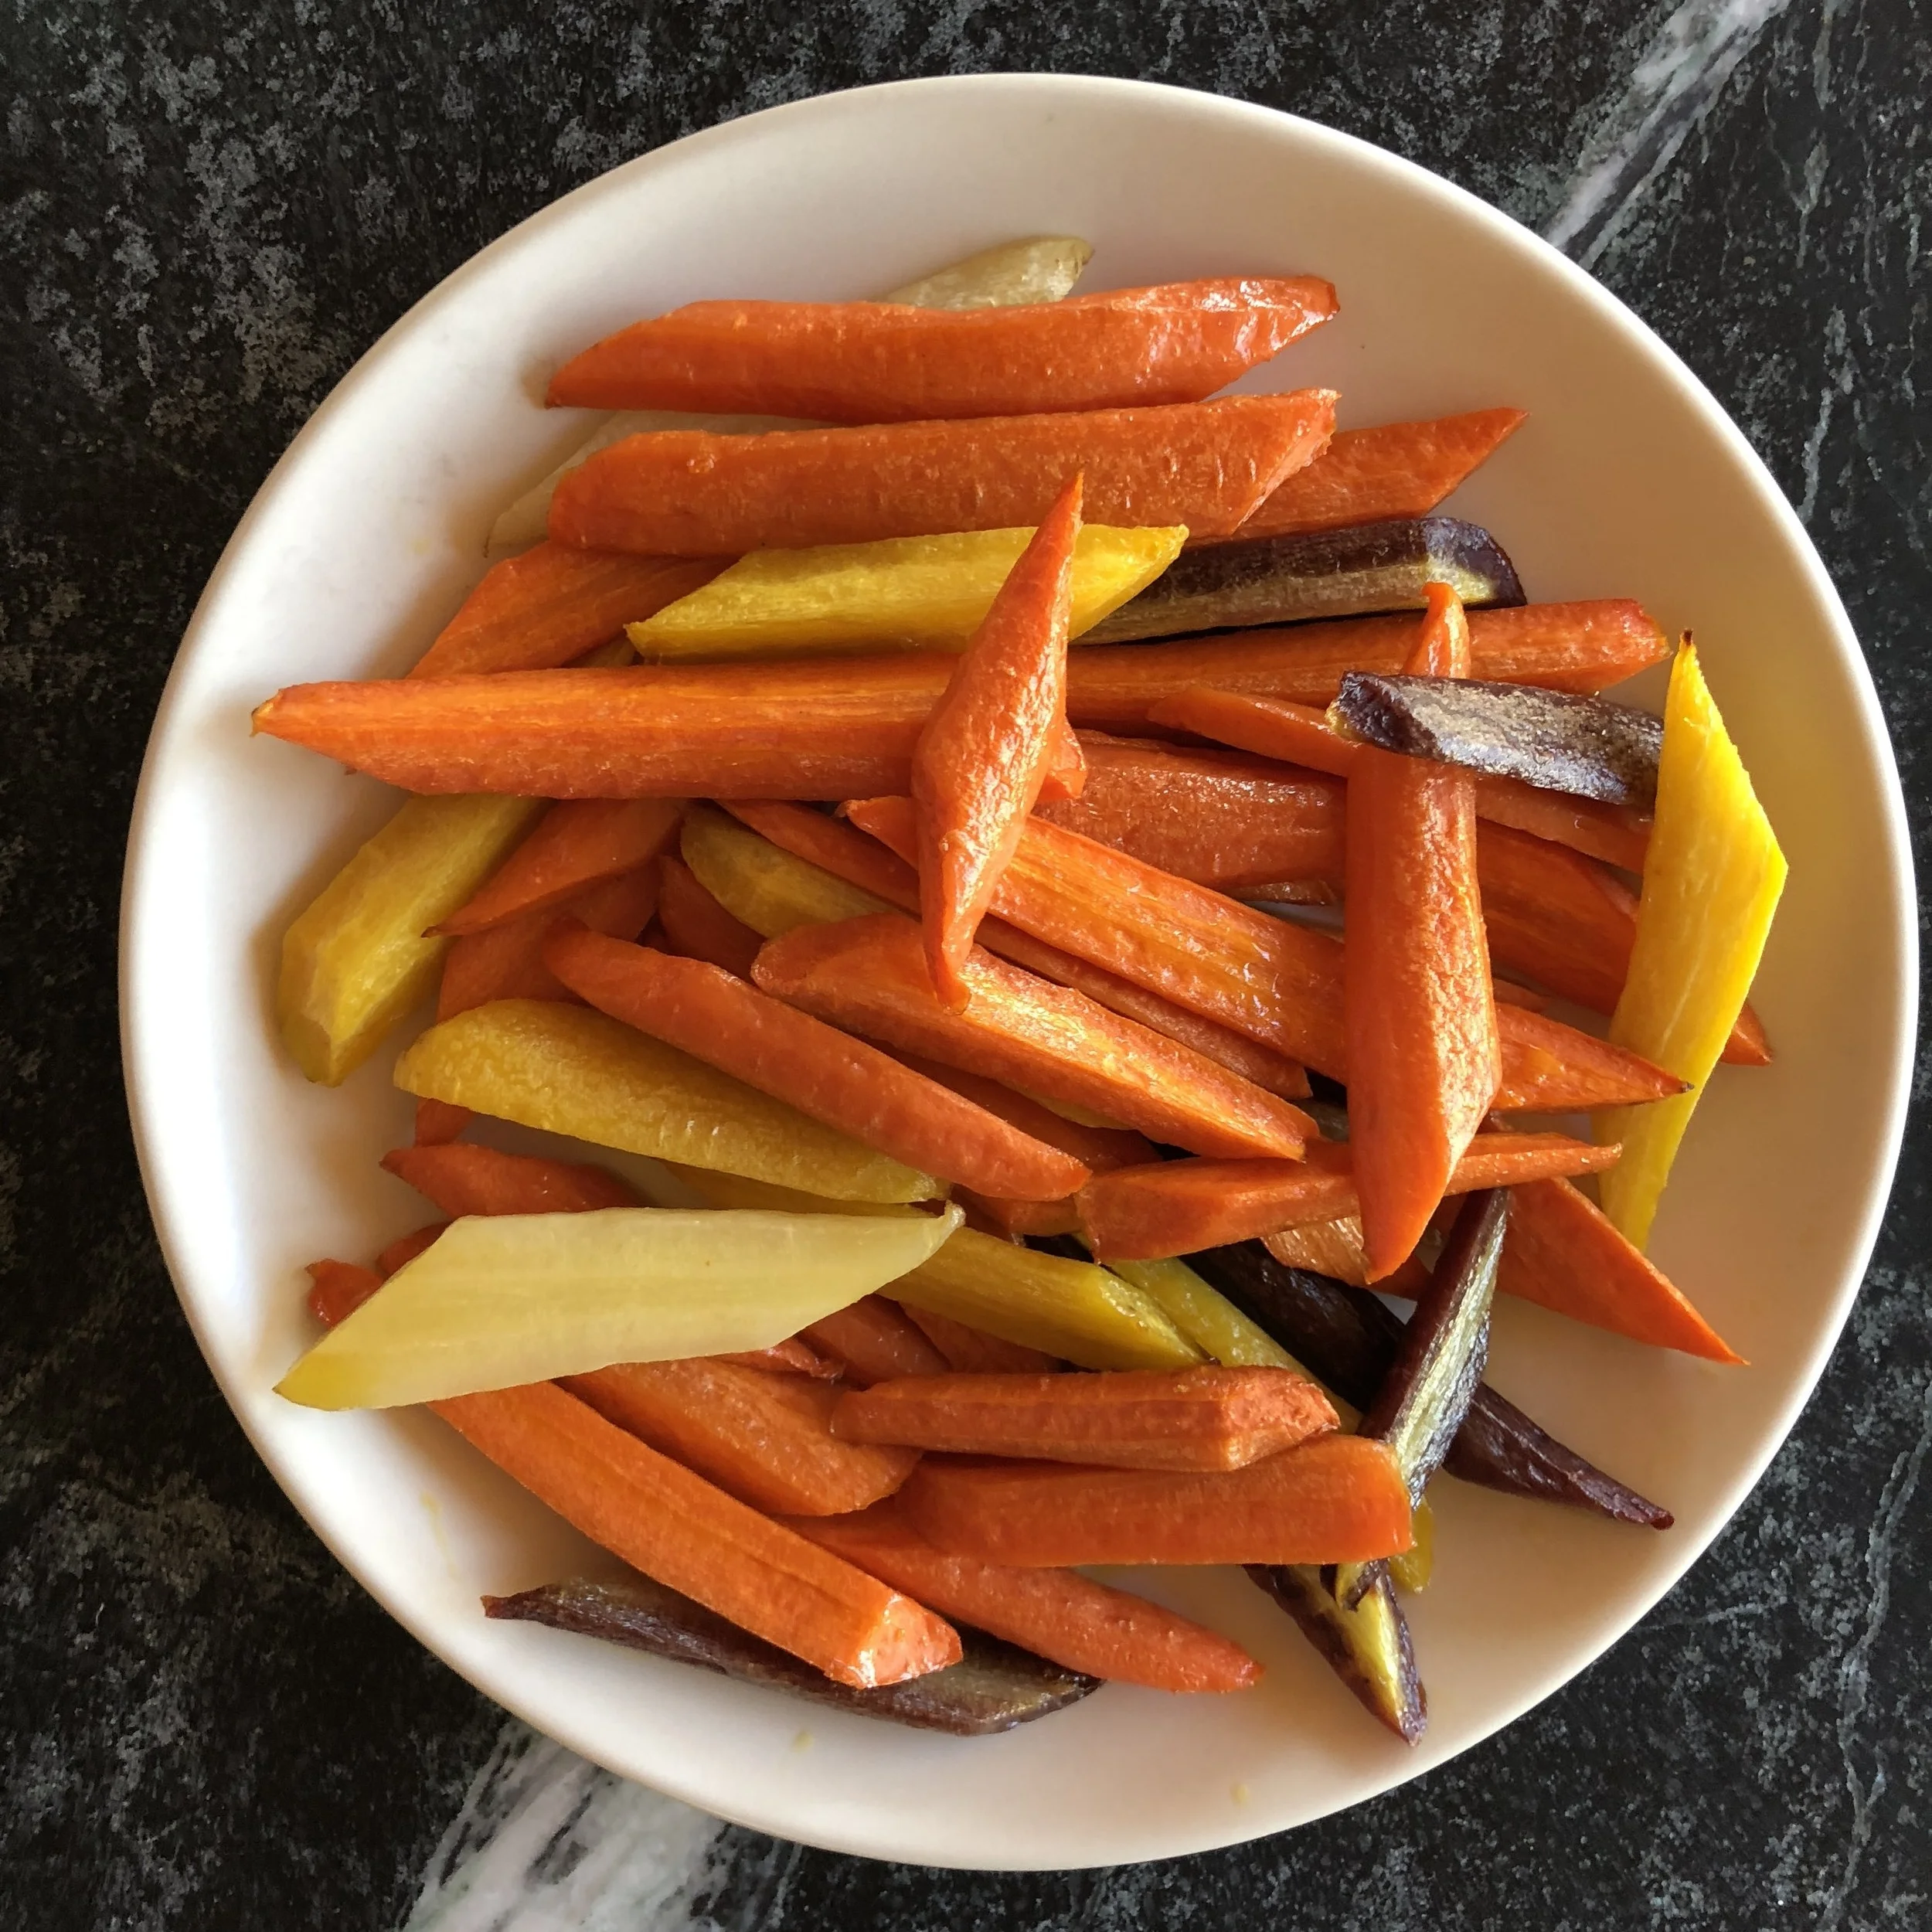
Carrots cut smaller and roasted off earlier in the morning, waiting until it is time to assemble the dish just before brunch time
Here's an easy way to elevate your carrot dish. Simply roasted carrots dressed up with some fresh parsley, mint, lemon yogurt sauce and feta - an excellent side dish or vegetarian dish (I would add some toasted pumpkin or sunflower seeds if a vegetarian main). An extra bonus is that the carrots can be room temperature which eases the "having everything ready (and hot) at the same time" part of cooking a meal - It would be excellent as a BBQ side to add some light freshness in contrast to grilled meats. Another reason I love this recipe is that it is so easy to scale up for a larger group - just get whatever amount of carrots you think would be good for your group and scale the rest up accordingly. If you need to, split the carrots across 2 baking sheets so they are not too crowded. The sauce is even delicious on raw carrots!
April 4 2018 - We just served this dish over the weekend at the the Easter egg hunt and brunch we hosted for our neighbors up at our place in the Catskills and were so please with how it turned out! This time I cut the large carrots into smaller long pieces (see photo) so that there were a better serving size for the larger group and I liked it even more than keeping the carrots their full length. It will be my go to method from now on. I would now recommend this dish even more whole heartedly (if that was possible) for a delightful side dish to any meal. You can make the sauce hours ahead of time, you can prep the carrots the day before, it can be served with the carrots at room temperature so they can be roasted off earlier in the day and left on the counter until you are ready to assemble. So it is a really tasty dish that is a breeze to pull together and you don't have to worry about keeping it warm. Oh, and it presents beautifully. What more can you want from a recipe?
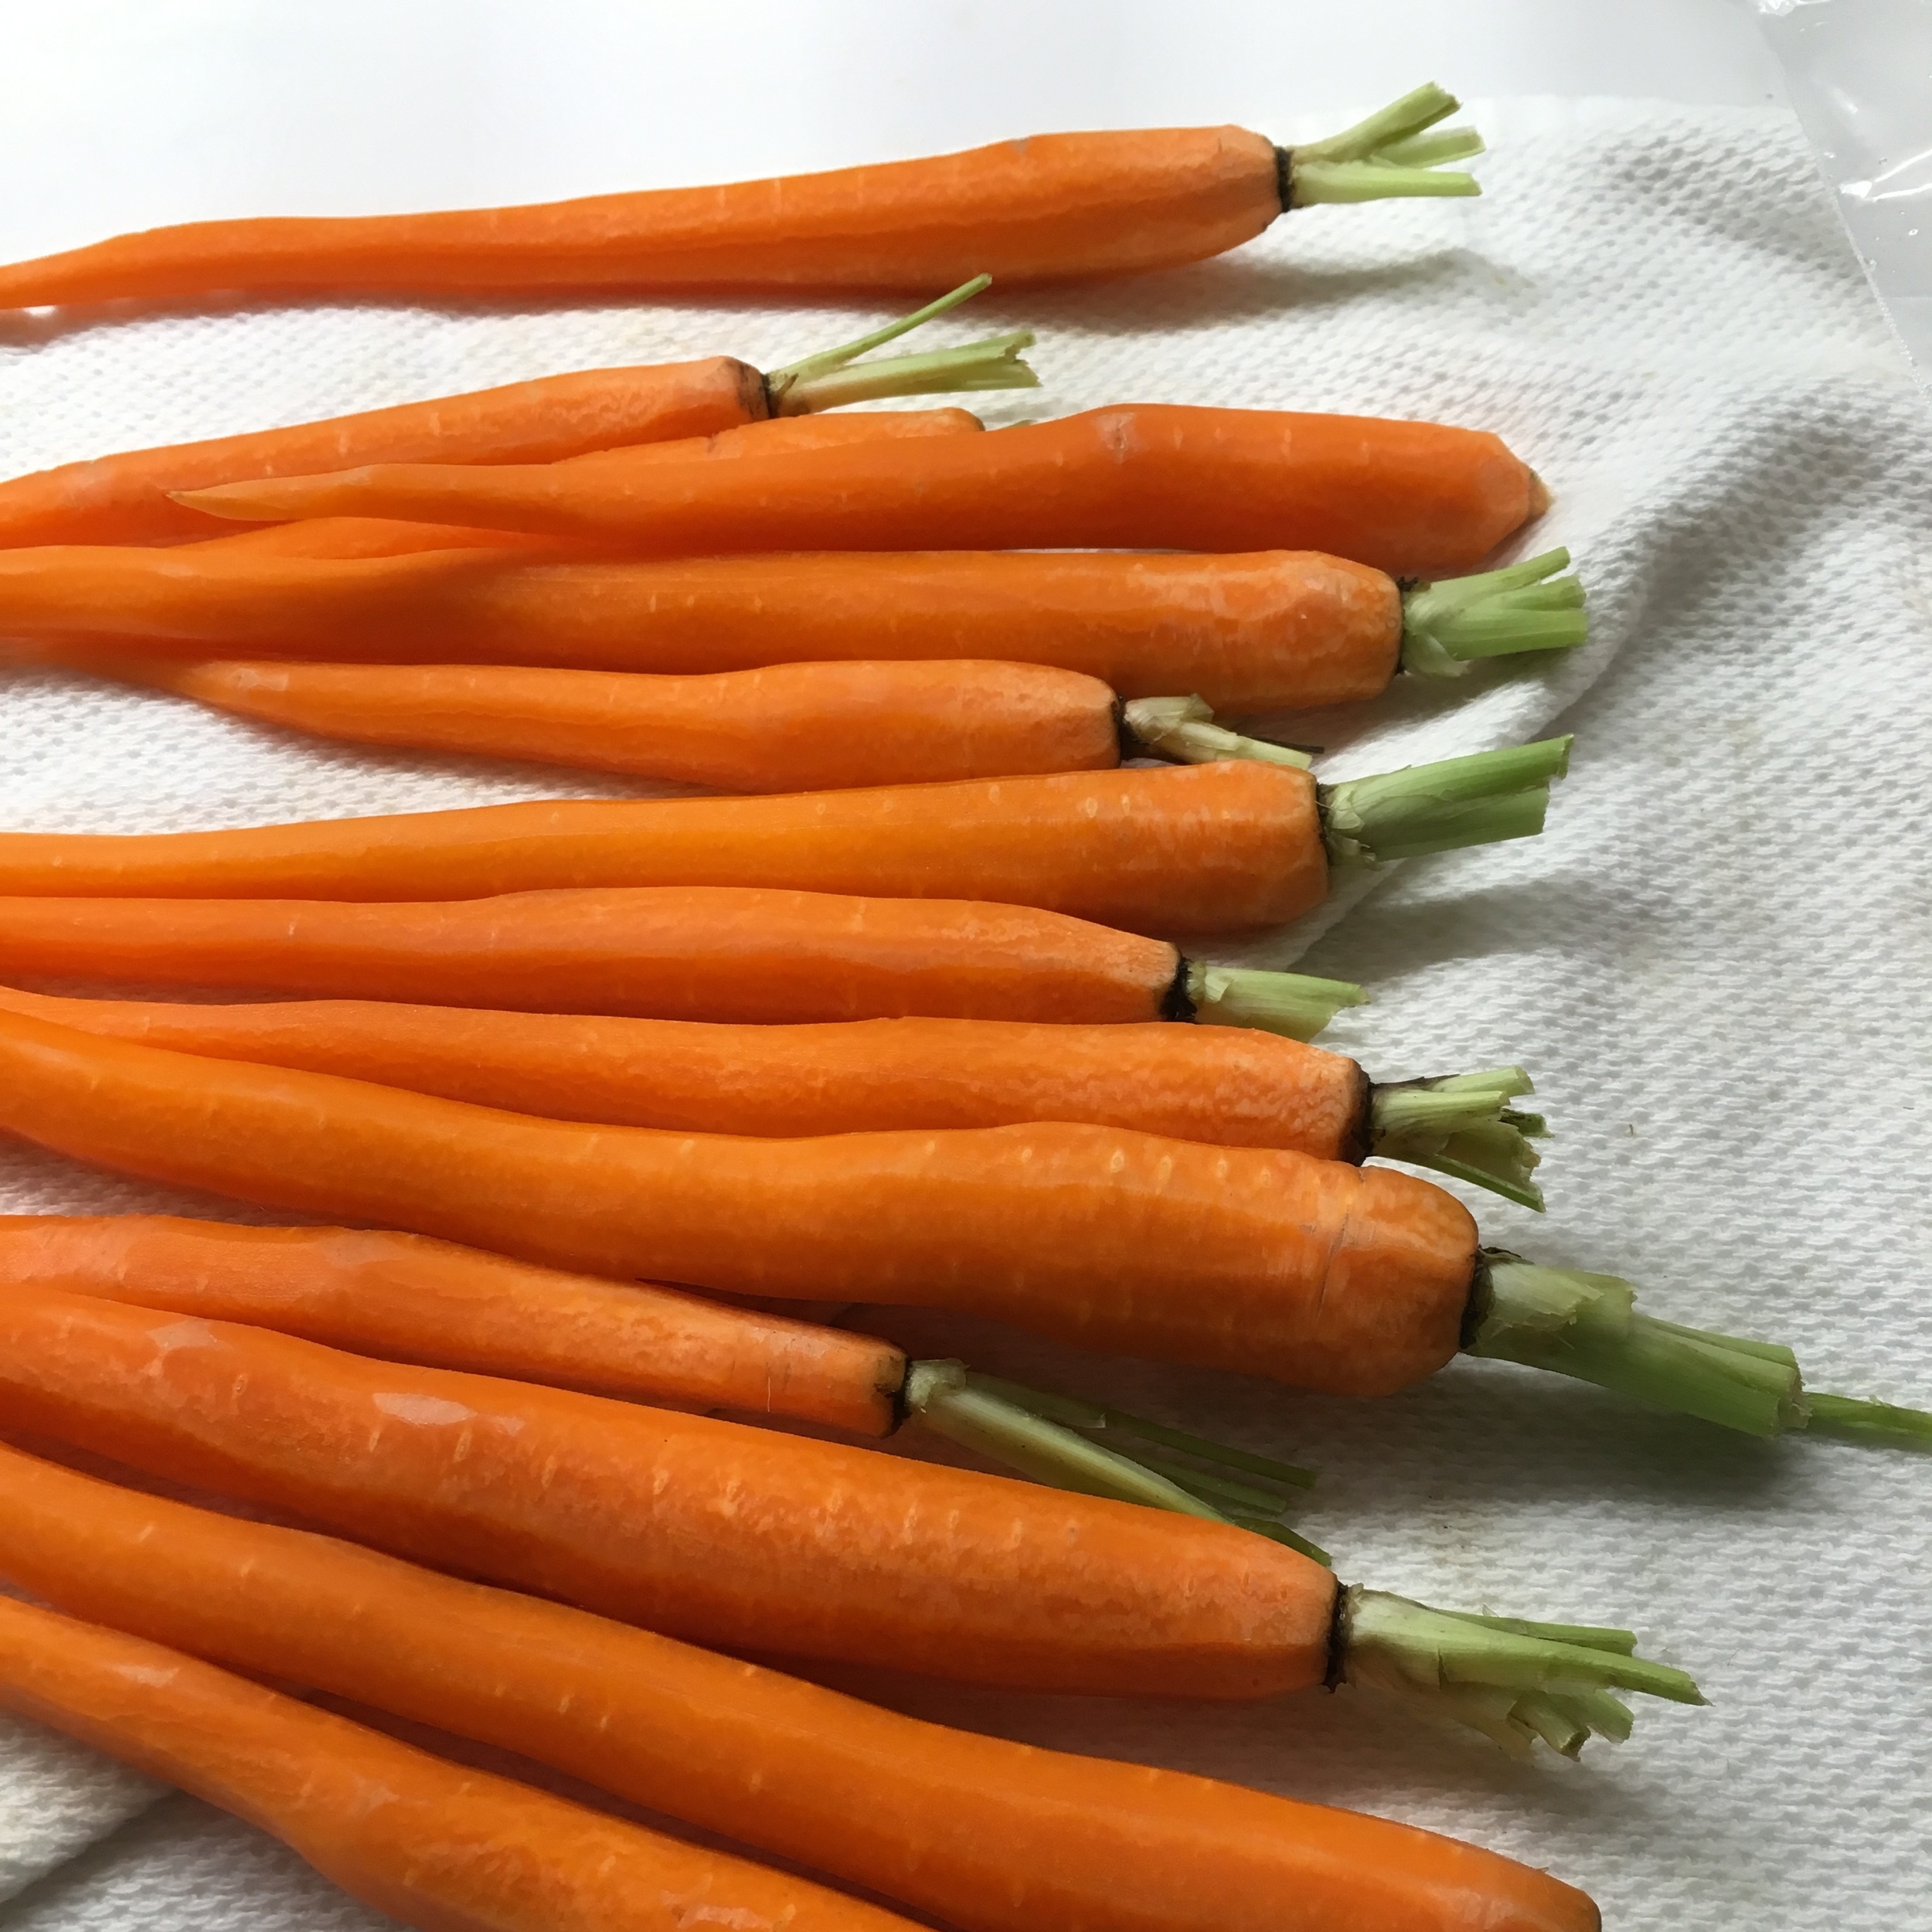
Prepped Carrots, leaving whole

Easter 2016 - sit down meal for 6 people
Martha Stewart Living recipe published in the April 2016 issue with my added notes and photos.
1 1/2 pounds thin carrots, peeled, halved lengthwise if thick
1/3 cup coarsely chopped fresh flat leaf parsley, plus optional whole leaves for serving
2 tablespoons coarsely chopped fresh mint, plus optional whole small leaves/chopped larger leaves for serving
2 teaspoons fresh lemon juice
3/4 cup plain Greek yogurt
1/2 cup crumbled feta cheese (optional)
Extra-virgin olive oil
Coarse salt
Shopping notes: You should buy carrots with their tops still on, they will be sweeter. Look for pretty bunches for a pretty end result! Also, most of the nutrition in carrots is closest to the outer edges. If you by baby carrots, you loose a lot of that.
Preheat oven to 450°F.
On a rimmed baking sheet, toss carrots with olive oil to coat and season with salt. Roast carrots, until tender and beginning to brown slightly, about 20 - 25 minutes. Flip carrots once in the middle of roasting. Let cool.
Process 3 tablespoons olive oil, 1/3 cup chopped parsley, 2 tablespoons chopped mint, 2 teaspoons lemon juice and 1/2 teaspoon of salt to a fine paste in a food processor. Add yogurt and puree. The sauce will be luscious in texture and the color will exclaim spring and summer.
Spread some of the yogurt sauce on the a platter, place carrots on top of the sauce. Sprinkle with feta if desired, but the dish is really great even without it. If you wish, drizzle with a little more olive oil (I don't think this is necessary). If you saved any small fresh parsley and/or mint leaves, sprinkle them on top. Put some of the yogurt sauce in a small condiment bowl with a little spoon so your guests can add more sauce to their carrots right on their plate. Serve!
This is a crowd pleaser. Every time we make it we're asked for the recipe. Perfect for any casual gathering.
Read MoreCold winter days call out for rich and hearty beef stew.
Read MoreSo comforting and so easy to make. Perfect for groups, you can make it a day ahead and just reheat for your gathering. Or if just for your, you will have extra portions to store in your freezer for easy future meals.
Read MoreThese are super easy to make and sure to please. Delicate, crusty exterior with a soft, buttery interior.
Read MoreA creamy, eggy, mustardy version. Delicious. Better if made the a day ahead.
Read MoreInspired by the to die for curries at G’raj Mahal we enjoyed on a trip to Austin, TX and the amazing pasture chicken we used to get from Surfside Chickens when we lived in California, we decided to try our hand at making an Indian dish a few years ago and it is now a staple. We landed on Jamie Oliver’s Chicken Korma from his Food Revolution cookbook. The recipe is straightforward and easy to shop for. It does use a curry paste, but still has plenty of freshness.
There is a wonderful depth of flavor (surprising considering it doesn’t even cook for that long!), great texture and flavor contrast from the mix of soft onions, tender chicken meat and buttery chickpeas. And while we love Indian food, it can often seem a bit oily and heavy. This dish is not. It is comforting yet not heavy or greasy. We serve it over a pile of brown basmati rice. Yum.

If you are not familiar with Indian curries, this is a wonderful one to start with. It is mild (I’m a wimp when it comes to hot spices) with only a hint of heat yet has great flavor.
I have never had chickpeas in Korma before but I like it. They took on a wonderful flavor and buttery smooth texture and it is a wonderful way to help stretch out the chicken since they add to the heartiness of the dish.
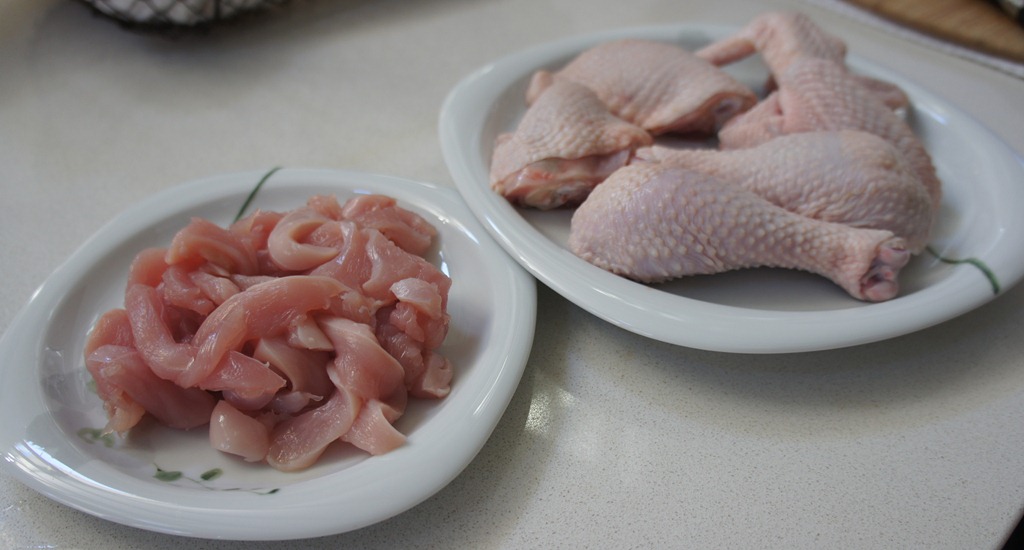
We actually halved the recipe since it was just the 2 of us and it worked out perfectly with the portion of chicken breast we were able to get from that week’s Surfside Chicken. I divided up the rest of the chicken too, so we had vacuum sealed packs of 2 chicken thighs, 2 wings, 2 drumsticks and the body in the freezer waiting to be turned into another meal.
This is a great dish to make for company since you can make it before your guests arrive, leave it on the stove and simply warm back up before serving. In fact, the first time we made it, my husband finished cooking it by 5pm, we left it on to simmer for a little longer and then turned off the flame, and left it covered on the stove. We warmed it back up at 7pm when we were ready for dinner. I bet the curry flavors developed even further with the extra time. Our brown basmati rice was also just waiting for us to be ready sitting piping hot in our rice cooker.
From Jamie Oliver’s Food Revolution cookbook with notes from our experience.
Serves 4-6
1 3/4 pound skinless boneless chicken breast, preferably free-range or organic
2 medium onions
optional: 1 fresh green chile (we left it out since I’m a wimp)
a thumb-sized piece of fresh ginger
a small bunch of cilantro (an easy herb to grow in your yard!)
1 15oz can of garbanzo bean (chickpeas)
peanut or vegetable oil (We used olive oil. Using Ghee would probably be delicious as well)
1/2 cup korma or mild curry paste, such as Patak’s
1 14oz can of coconut milk
a small handful of sliced almonds, plus extra for serving
2 heaping tablespoons of unsweetened shredded coconut
2 cups natural yogurt
1 lemon
To prepare your curry
Cut the chicken into approximately 1-inch pieces or thin slices. I find slices will result in more tender and flavorful chicken.
Peel and finely slice the onions.
Halve, seed and finely chop the chile if using it.
Peel and finely chop the ginger. If you don’t like eating ginger, be sure to chop it finely so that it melts away in the dish or cut slightly large pieces/slices so you get the flavor but you can easily opt to not eat the ginger pieces themselves.
Pick the cilantro leaves and finely chop the stalks. (love that both stalks and leaves are used!)
Drain the garbanzo beans.
To make your curry
Put a large casserole-type pan on high heat and add a couple lugs of oil. Once hot, add the onions, chile, ginger, and cilantro stalks with the butter. Keep stirring it enough so it doesn’t catch and burn but turns evenly golden. Cook for around 10 minutes. Add the curry paste, coconut milk, half the sliced almonds, the drained garbanzo beans, unsweetened shredded coconut and chicken breasts. Half fill the empty coconut milk can with water, pour it into the pan and stir again. Bring to a boil, then turn the heat down and simmer for 30 minutes with the lid on.

Check the curry regularly to make sure it’s not drying out, and add extra water if necessary. When the chicken is tender and cooked, taste and season with salt and pepper – please season carefully. I did add a fair amount of salt, you’ll want to taste, add some salt if needed, stir and let cook for a few minutes, then taste again to see if it still needs more or not. Better to add little by little than overdoing it.
To serve your curry
Jamie includes various recipes for making rice as options to serve with this dish. Good old plain basmati rice works well. In fact, we used brown basmati rice and thought it was perfect.
Jamie also suggests: Add a few spoonfuls of natural yogurt dolloped on top and sprinkling over the rest of the sliced almonds. Finish by scattering over the cilantro leaves and serve with lemon wedges for squeezing over.
We served individual plates, since it was just 2 of us. I put a heafty scoop of rice on my plate (really a pasta bowl), hollowed out the middle and filled it with a few serving spoons full of korma. Very pretty. We skipped the yogurt, even though we had gotten a small container of Greek yogurt for the dish. We found the dish rich enough that we didn’t feel it needed the yoghurt. We did sprinkle on the cilantro leaves (we chopped them a little first) which made the dish look extra pretty and added nice fresh flavor. We completely forgot about the lemon wedges since we were hungry and excited to eat! It was still amazing, so if you don’t happen to have lemons, don’t sweat it.
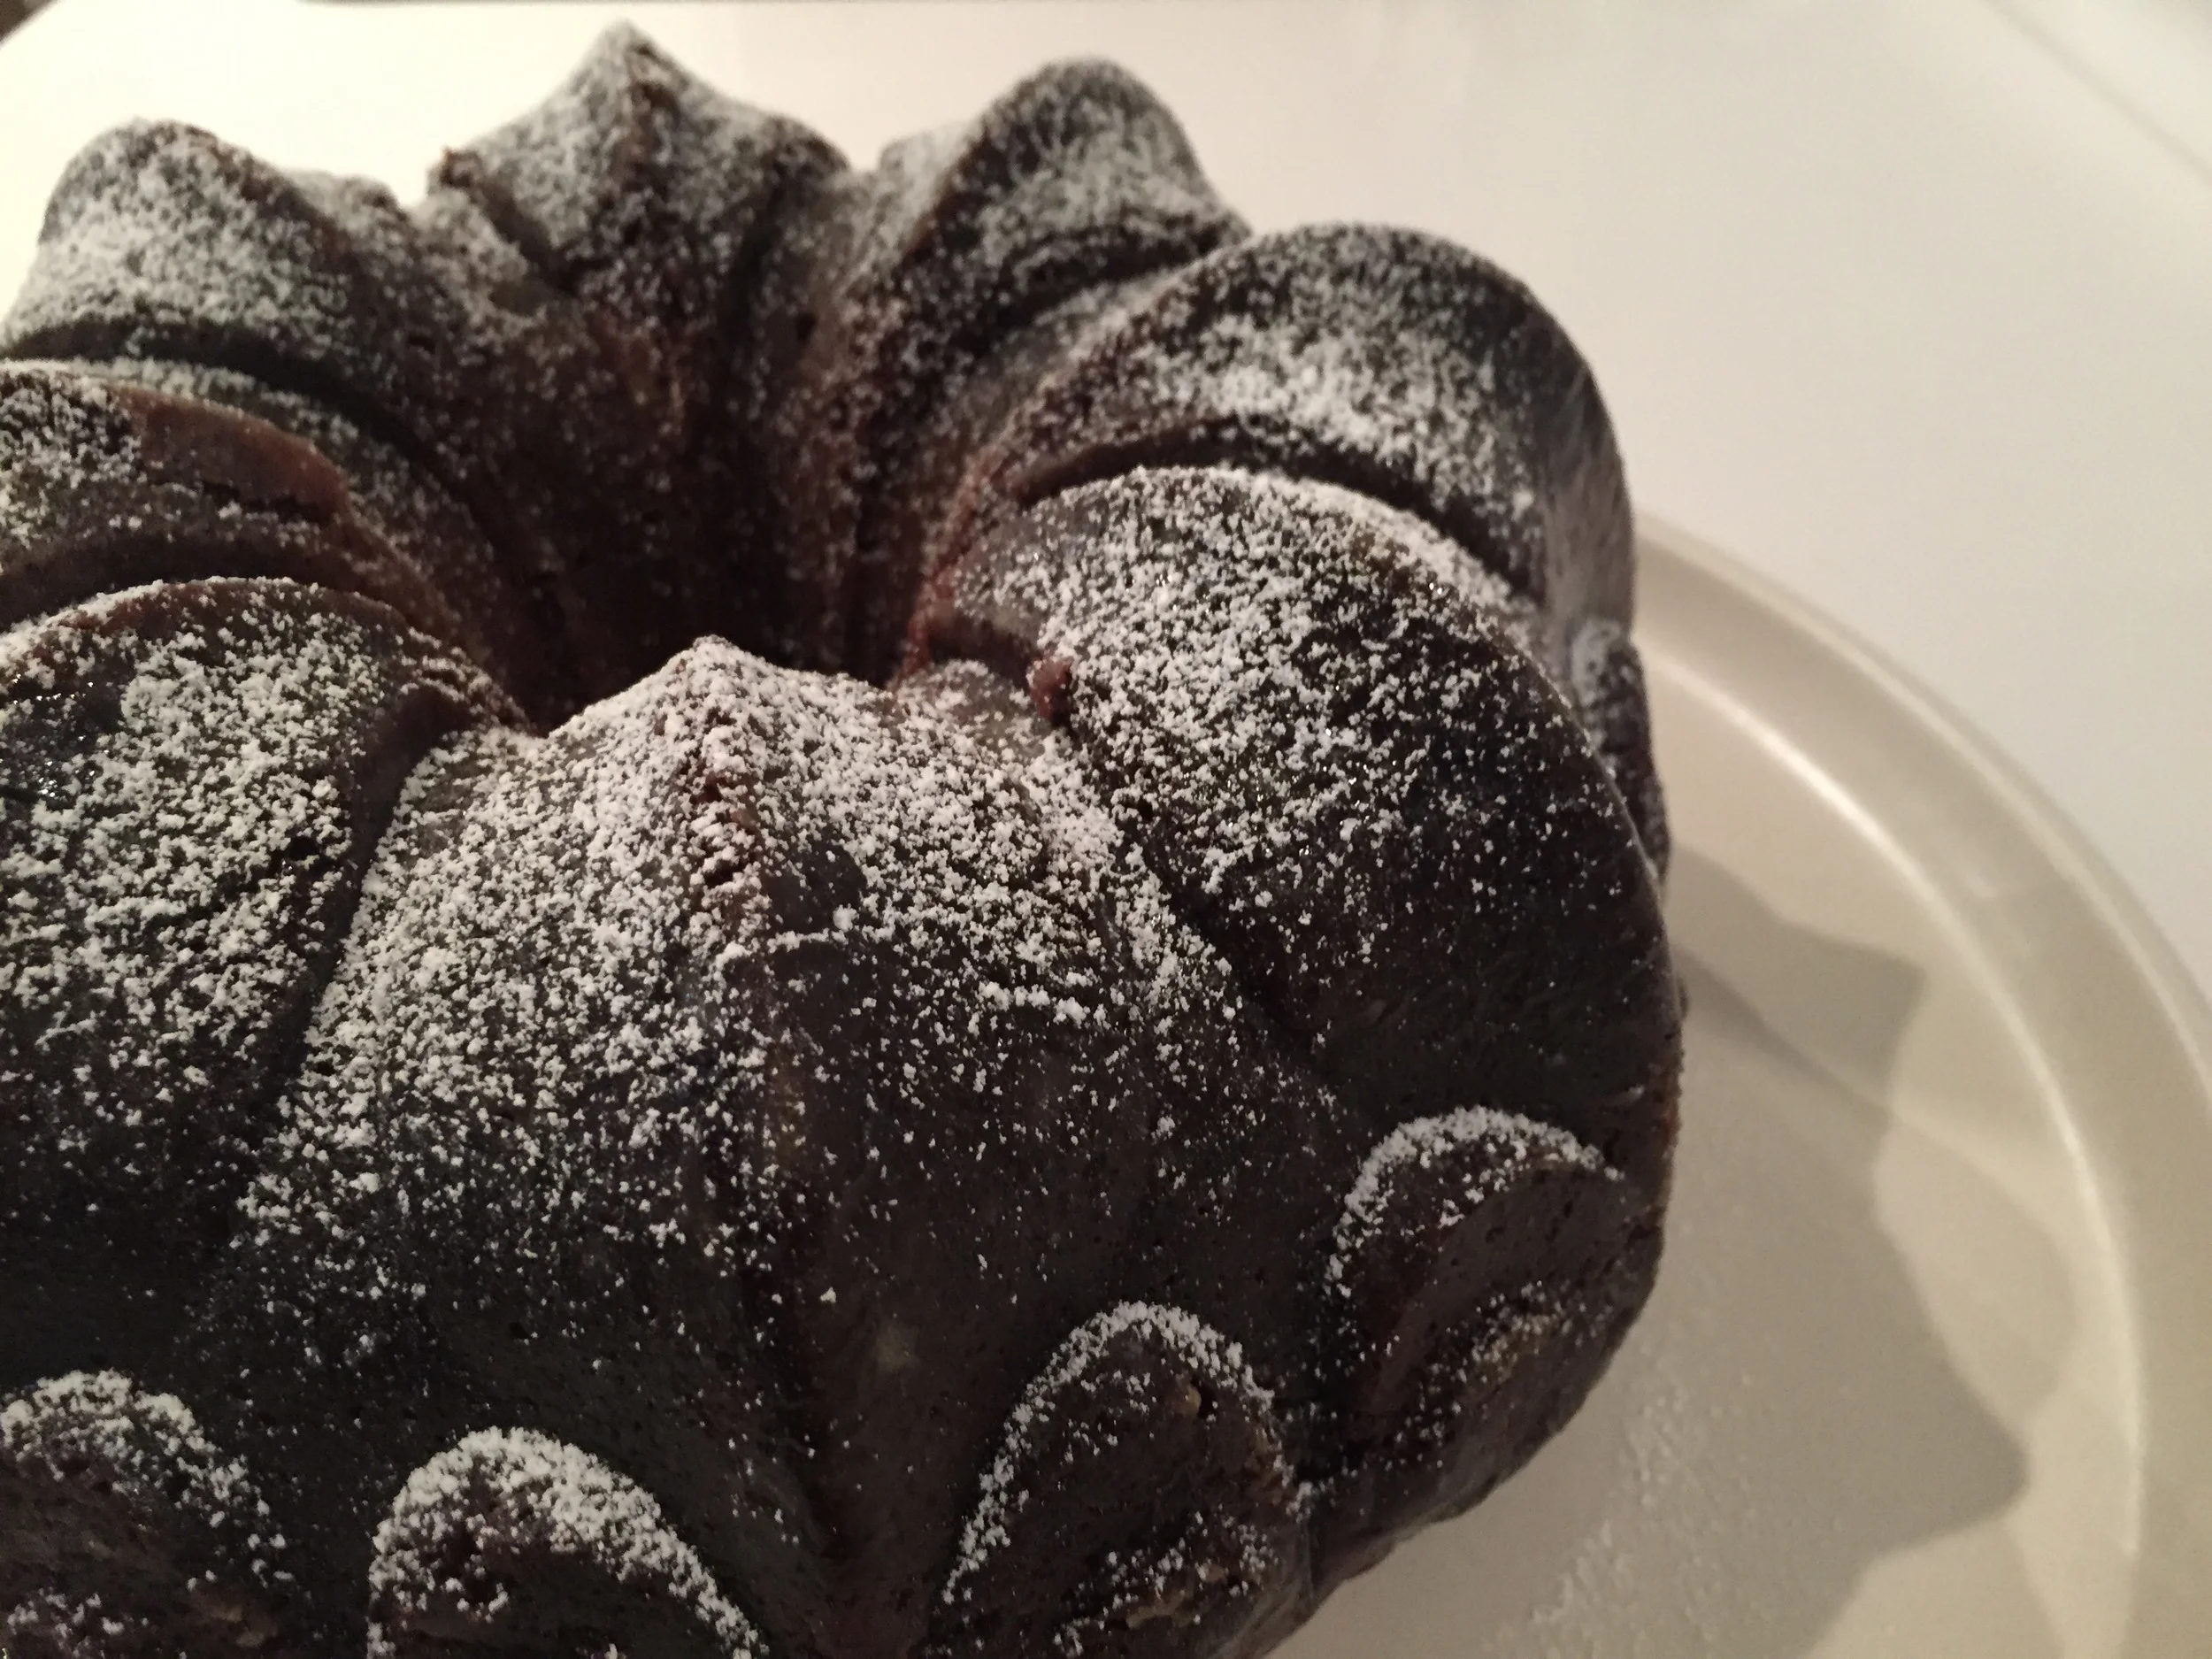
You should most definitely make this cake.
Read MoreGreat for: Cozy dinner, company/groups
Ever since I had the pleasure of enjoying (going totally gaga for!) the lentils and sausage entrée at Les Pyrenees in Old Montreal I have been on the hunt for a recipe to try to replicate the sublime cozy tastes of that dish. After trying a few, this one is my current favorite. I just made it again last week and decided I had to share with you.
The dish is incredible silky and texturally interesting with layer upon layer of intense flavor. It is such a warm and hearty dish it will make any chilly gloomy day better…in fact you may look forward to such days so you have an excuse to make this dish! Not that you really need an excuse. It is also fairly easy to make and lasts well in the fridge for days! I like eating it with fresh bread, such as a french batard.
The original recipe is from a blog, Becks & Posh, and I have tweaked it just slightly as I found the original slightly acidic and I like to cook my lentils slightly longer, requiring more chicken broth. I also like extra sauce for mopping up with bread. I do use Toulouse sausage as she suggests in the original recipe – it is a mild garlicky sausage. Given how she touted the amazingness of Fatted Calf sausages, I made sure to get some to try with my first batch along with some of their bacon. Just hunting them down was part of the fun. However, I have to say, I was not thrilled with the sausages, there was something about their flavor that I didn’t love but the overall dish was still heavenly. I have since tried Toulouse sausages from Fabrique’s Delices which I can get at our local Palo Alto farmer’s market. They are the winner, the sausages have amazing flavor and are perfect for this dish. If you can’t find Toulouse sausage, mild Italian sausage would be a fine substitute. That said, Fatted Calf bacon has completely won me over, its deep flavor and thick cut stand up so well with this preparation adding another layer of great flavor. If you can get your hands on some, you really should! If you are in the San Francisco area, they have a stand at the Ferry Building farmer’s market and the Berkeley Farmer’s marketing on Saturdays and let you place special orders through their website. They have store fronts at the Oxbow Public Market in Napa, and in Hayes Valley. We had a great time visiting it on our trip up to Napa a few weeks ago, and we of course, brought home some bacon.
2 tablespoons olive oil
1/2 cup diced carrot
1 medium onion, decided
5 cloves garlic, roughly minced
1 cup green lentils
2 bay leaves (if using fresh, use 3)
a few fronds of parsley tied together
2 cups low sodium chicken stock + another 2 cups to add in later as needed
1 cup tomato juice (tomato sauce works fine too)
1 tsp salt
1 1/2 cups red wine
4 fat sausages
6 rashers of bacon, cut into bite-sized portions
salt and pepper to season
chopped parsley to garnish
Heat 2 tablespoons olive oil in a large skillet over medium heat. Add the carrots, onion and garlic and cook slowly until the onions are soft and translucent. Add the washed lentils and stir for a couple of minutes until they are fully coated with oil. Add the tomato juice, salt, first 2 cups of chicken stock, parsley, bay leaf, parsley and red wine. Bring to a boil. Turn down the heat and simmer for an hour. Remove the bay leaves and parsley.
In another large skillet fry the bacon and sausages in their own fat until lightly golden. Slice the sausages into fat, bite-sized chunks and add them, the bacon and all (or some) of the fat they rendered to the lentil mixture. Add however much fat you feel comfortable with. I never add all of it as I feel it will make the dish too greasy, but I do add a generous amount since it is full of great flavor. Cook for a further 15 minute. Add some more chicken stock if you want to loosen up the mixture and continue cooking for another 15-30 minutes. Keep adding chicken stock if you feel it is getting too thick. Just go with your gut on how much stock you need to add, the recipe is very forgiving. If you add too much, just cook it a bit longer to reduce. If you do let it reduce a lot be sure to taste it and add some water if it gets too salty – that is also why it is important to use low sodium chicken broth.
Check again for seasoning and add salt or pepper to taste. Garnish with chopped parsley to serve up with some great bread.
This is also a great recipe for company since you can make it ahead and leave it on the stove on simmer until you are ready to serve. Just be sure to have some of that extra chicken stock nearby to top it off if it gets dry and check for seasoning, adding a little water if it starts to get too salty.
INSTAGRAM @cheer_industries