
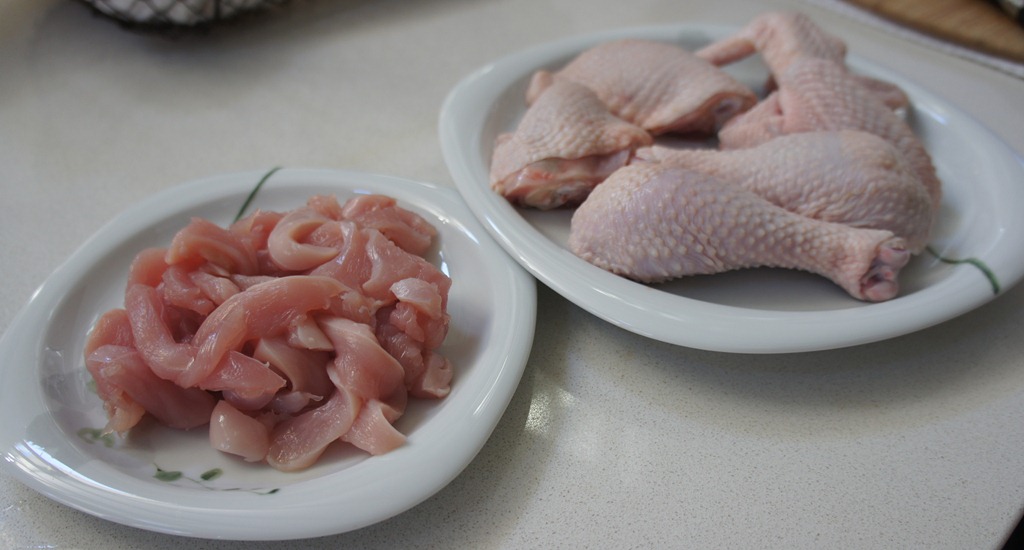
INSTANT POT BRISKET (nightshade free, gluten free, dairy free)
/
Nightshade free, gluten free, dairy free (aside from ghee which can be substituted)
Read MoreNightshade free, gluten free, dairy free (aside from ghee which can be substituted)
Read MoreCold winter days call out for rich and hearty beef stew.
Read MoreDue to some surgery, I found myself with some extra downtime pre-Thanksgiving this year. Naturally, I binged on cooking shows, Thanksgiving specials in particular. I garnered some great ideas to try for next Thanksgiving since I couldn’t cook this year.
However, with some help from my sister, I was able to try out Ted Allen’s Cointreau Cranberry Relish and it was amazing! I always make fresh cranberry sauce, but is has always been very standard (i.e. basic) and often I’m the only one who has any. That is now forever changed with this cranberry relish, which has amazing depth of favor and fantastic texture. It has a perfect balance of sweet, tart and spice from the cinnamon. Even my sister, who always passes on the cranberry sauce, had this adorning her Thanksgiving plate and every subsequent plate the rest of the weekend.
This is really so good you’ll want to make it all fall and winter! I want it in the fridge all the time - great with turkey (of course), roast chicken, pork chops and in sandwiches. I am even tempted to heat it up and use it as an ice cream topping! As I write this I realize little jars full of this tasty relish would make fantastic hostess gifts this holiday season. Awesome.


Adapted from Ted Allen’s version, as seen on The Kitchen, and recipe on The Food Network.
12 oz organic Cranberries
1 finely diced Granny Smith Apple
3/4 cup of sugar
1/2 cup of Cointreau
1/2 cup water
1/4 teaspoon ground cinnamon (generous 1/4 teaspoon)
Grated zest from one lemon and orange
Combine one 12-ounce bag cranberries, 1 diced Granny Smith apple, 3/4 cup sugar, 1/2 cup Cointreau, 1/2 cup water and 1/4 teaspoon each ground cinnamon in a saucepan over medium heat. Bring to a boil, then reduce the heat and simmer until the berries start to pop and continue cooking about 20 minutes. Off the heat, stir in the grated zest of 1 each lemon and orange. Taste. If you feel it should be a little sweeter (I decreased the original amount of sugar) add a little more, if it needs a little more cinnamon, add now; cook for a few more minutes. Set aside to keep at room temperature if using shortly for a meal or chill to keep for longer. It is even delicious straight out of the fridge.
Enjoy!
Notes:
Always buy organic if you can, especially important when using the skin of items, like the lemon and oranges you zest for this recipe.
The original recipe calls for a peeled and diced apple. We left the skin on the apple, why not? It’s less work and the skin is where most of the nutrition is. But worth mentioning, is that the skin will not breakdown so if you don’t want that texture in your relish, then peel the apple before dicing it.
Ours seemed a little too sweet when we followed the original recipe, so we added a little more cinnamon and cooked it a little longer. After it was chilled it was no longer too sweet but I reduced the sugar in this version to tame the sweetness a bit more.
I specified finely diced as the original recipe didn’t specify. Without direction from the recipe, we thought a dice similar in size to the cranberries made the most sense. However, in hind sight, a smaller dice would have been better as the cranberries break up much more easily than the apples so in the end the apple pieces stood out.

There is something so satisfying about a freshly roasted chicken. My husband improved upon it for me by sharing that his grandmother used to make roast chicken for him as a child and she would serve it with rice and gravy. I made gravy one day with our roast and have never skipped making gravy again. The addition of gravy and rice make this the ultimate comfort food.
Now you too can make this easily at home for your family and friends. Thanks to my father-in-law who's recipe this is based on.
3 - 4 lb chicken (preferably pasture raised)
2 tablespoons unsalted butter
soy sauce (leave this out if you are avoiding soy, I do now)
garlic salt
Preheat oven to 425°F.
Let chicken sit out to come to room temp, pat dry, about 1 - 1.5 hours. Also, leave the butter out to come to room temperature.
Douse with soy sauce, let it sit for 2 minutes and then sprinkle garlic salt over the entire chicken. Let sit for another 15 minutes or so to dry a bit. Then rub butter onto chicken, take your time with this, the butter will not want to adhere to the chicken at first. Continue to try to work it in and it will start to stick.
Put in a baking dish and bake for 1 - 1.5 hours. Take the chicken out and test for doneness. The chicken is done when an instant-read thermometer reads 165°F when inserted into the thickest part of the thigh and any juices run clear (the legs of the chicken should wiggle easily from the sockets too.)
Cover loosely with foil and let sit for 15 minutes before cutting.
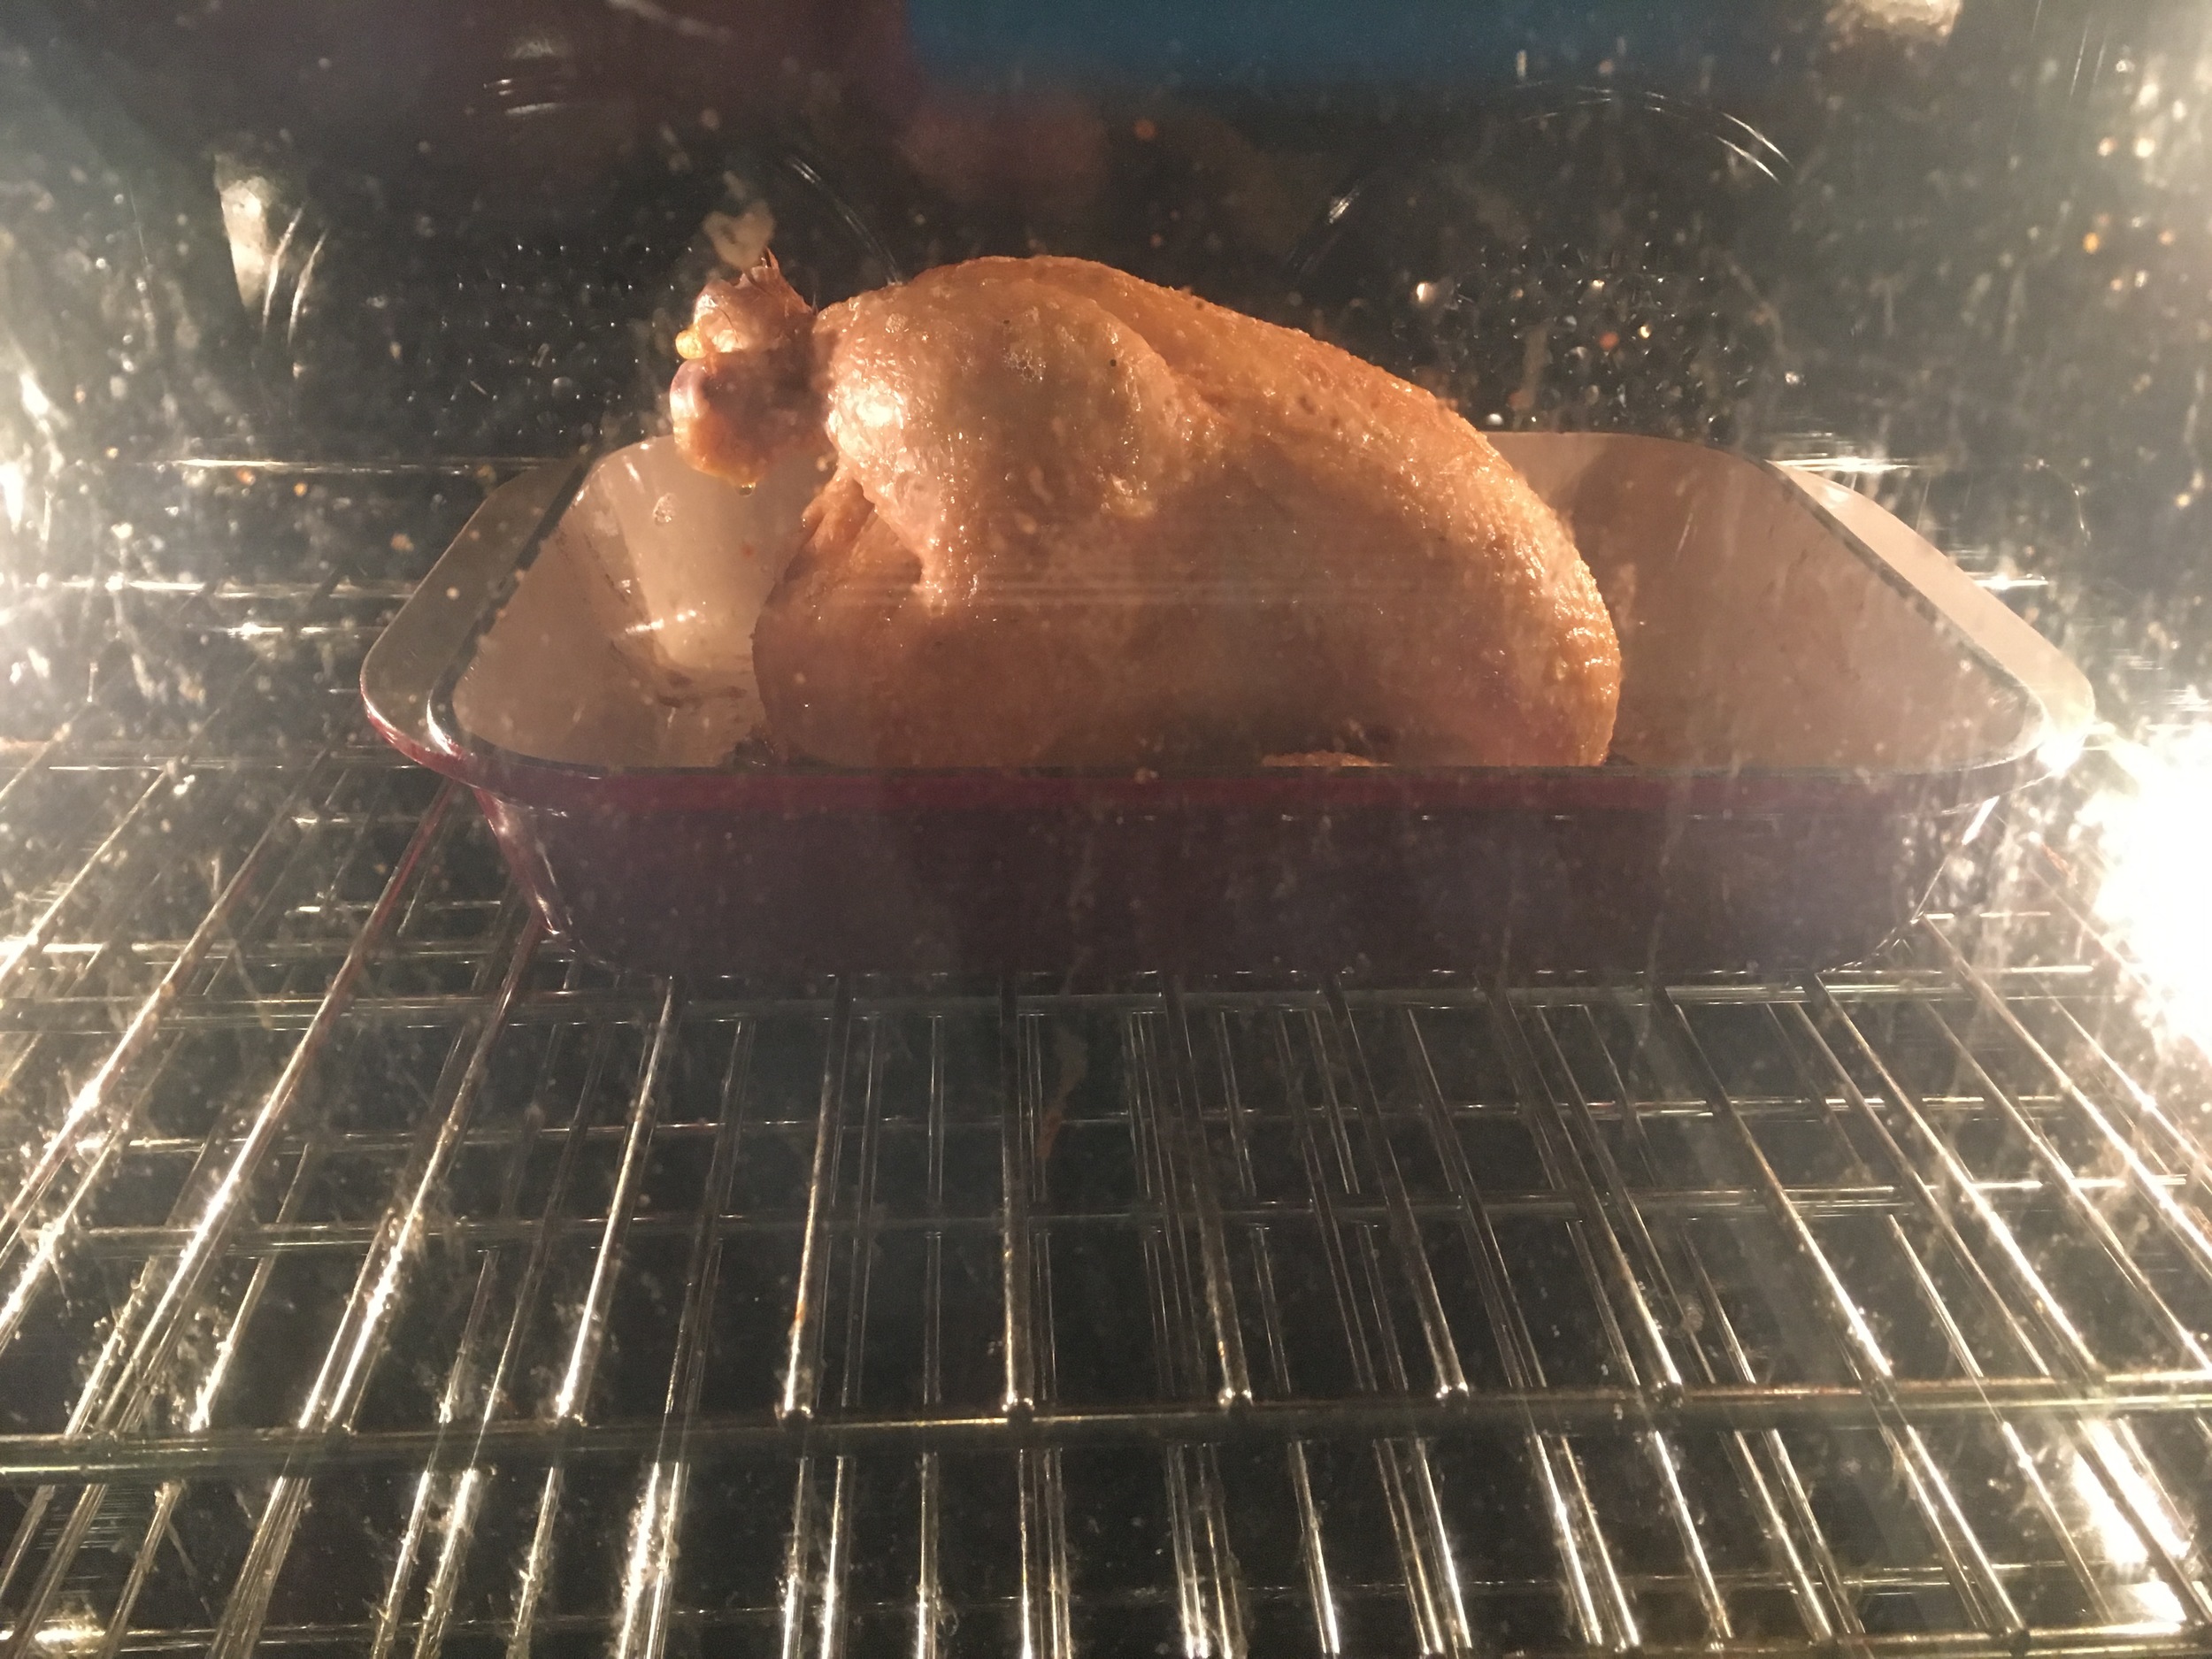
Chicken in the oven

What it will look like when done
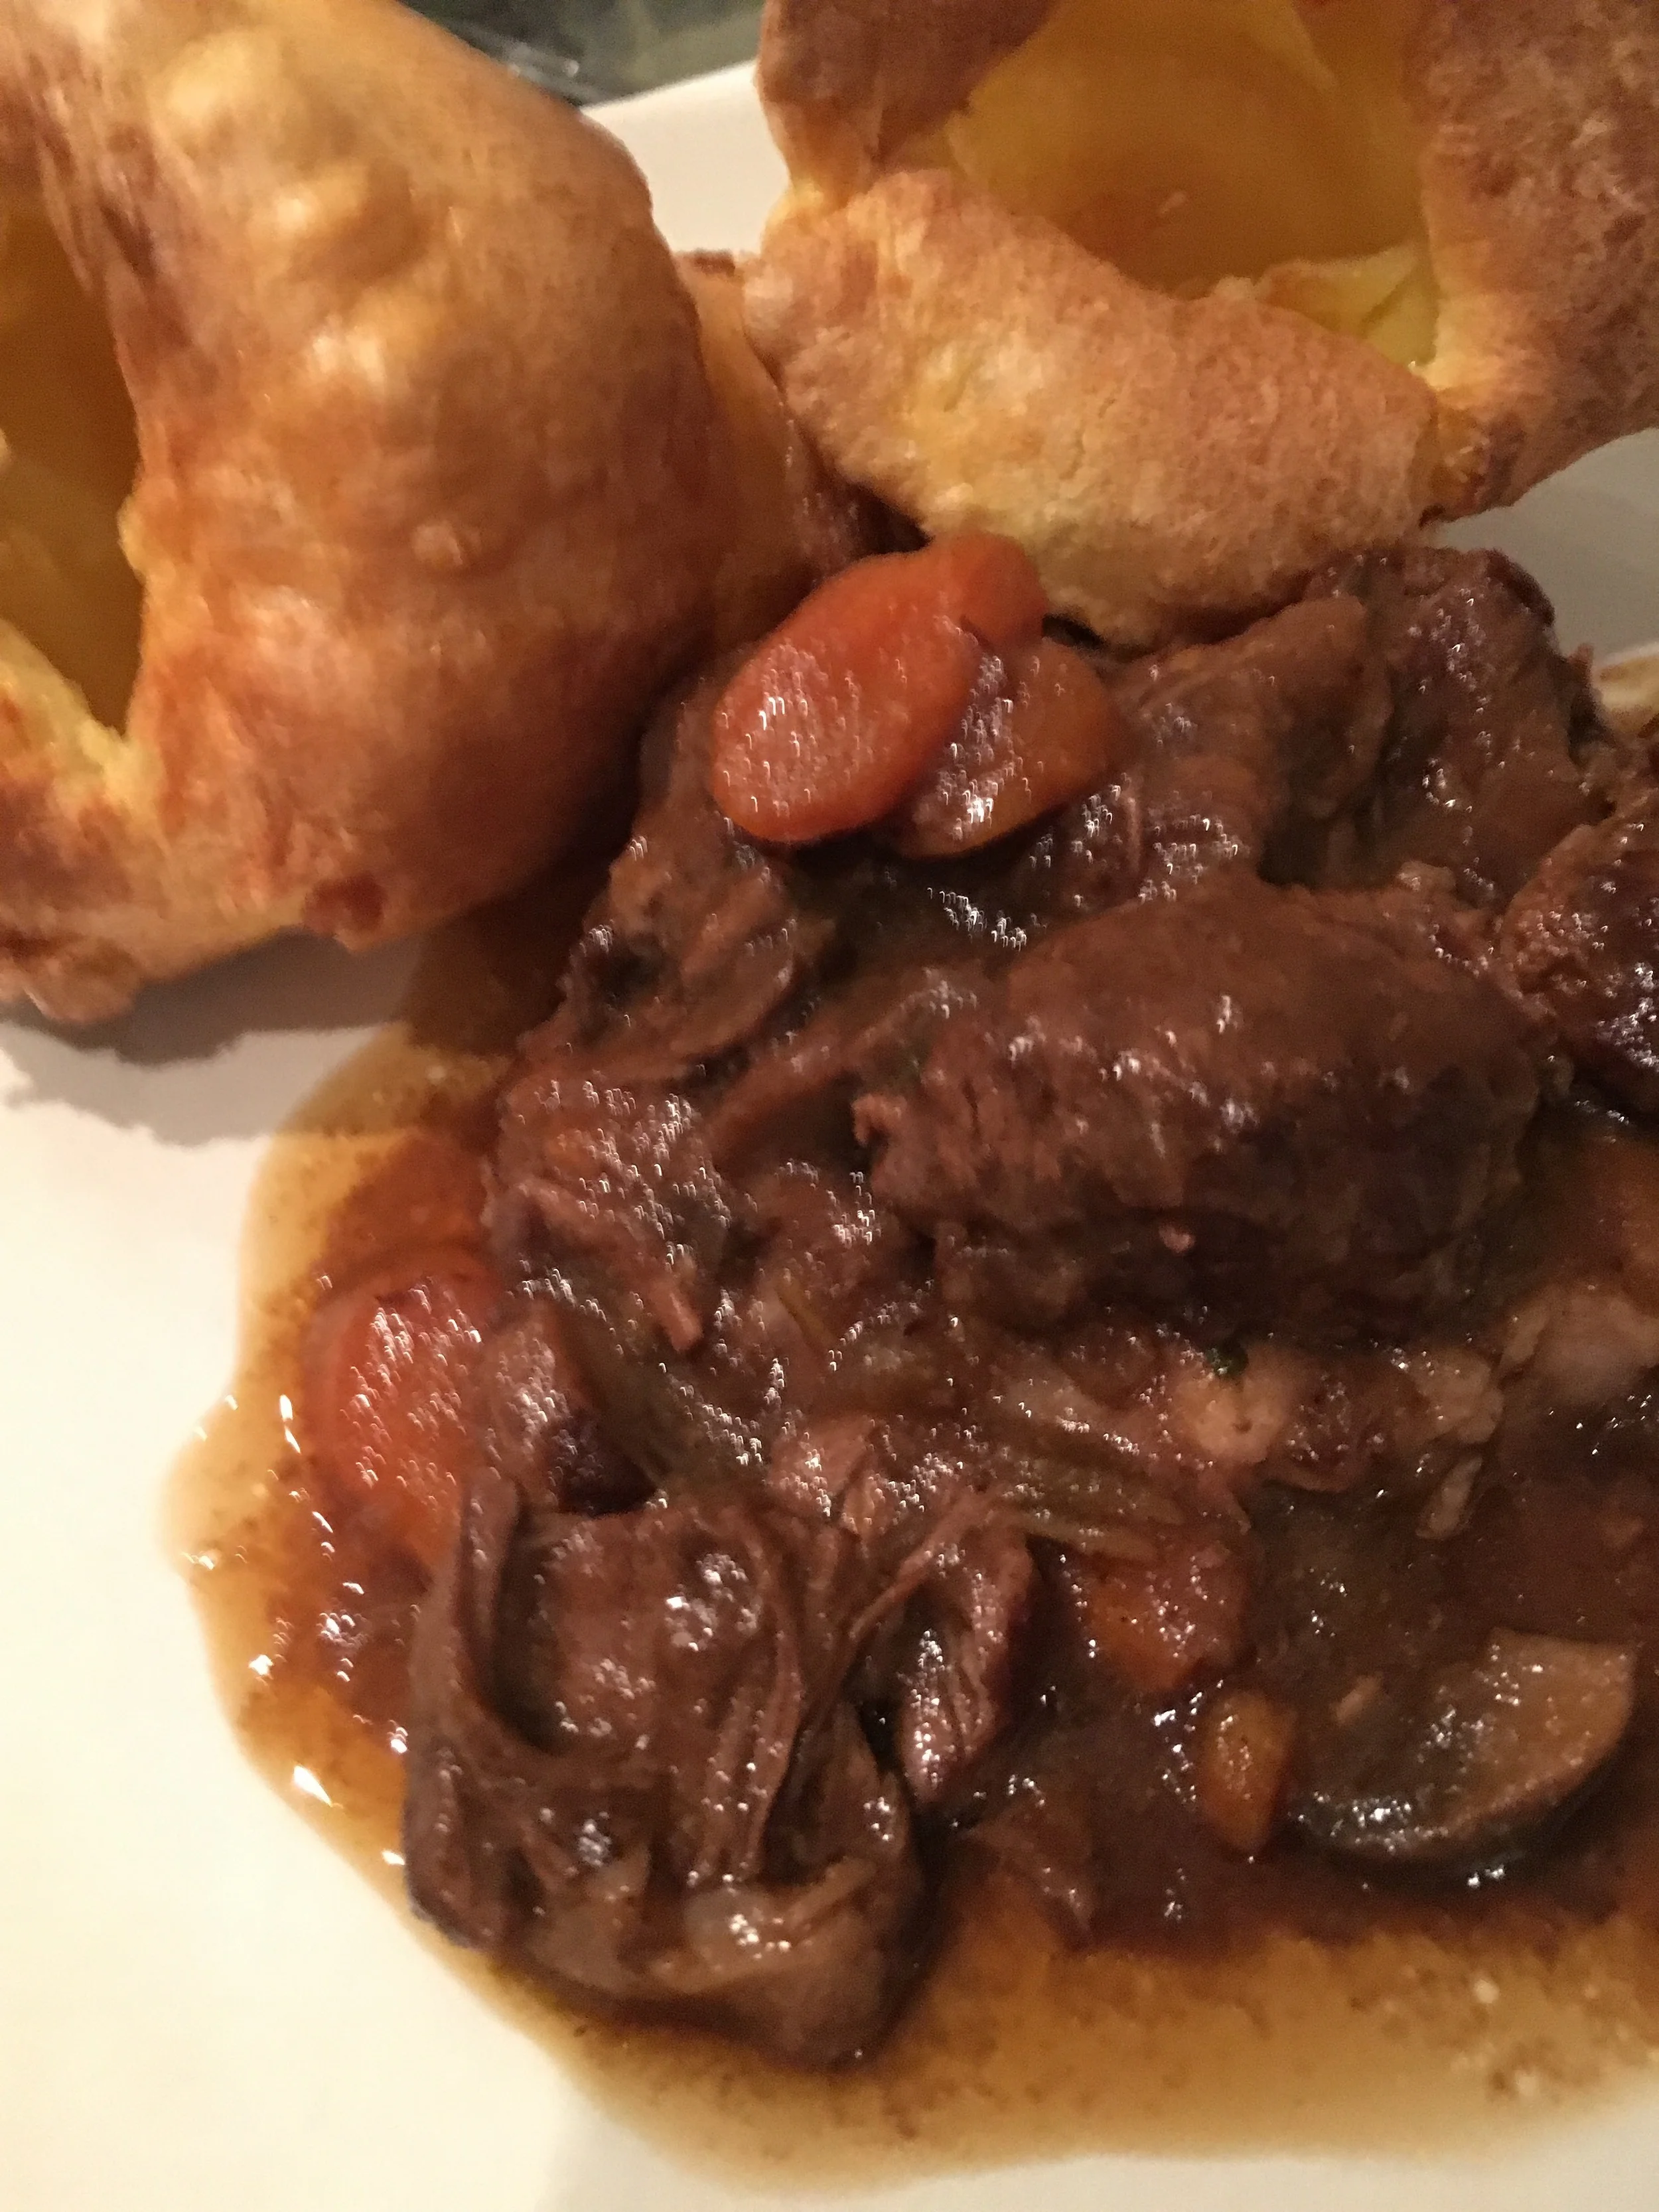
Best served with white rice and gravy. Other nice choices would be roasted potatoes or Yorkshire pudding also with gravy. Of course, you should also have a side of any vegetable to you like.
Gravy recipe to come soon!
Cold winter days call out for rich and hearty beef stew.
Read MoreInspired by the to die for curries at G’raj Mahal we enjoyed on a trip to Austin, TX and the amazing pasture chicken we used to get from Surfside Chickens when we lived in California, we decided to try our hand at making an Indian dish a few years ago and it is now a staple. We landed on Jamie Oliver’s Chicken Korma from his Food Revolution cookbook. The recipe is straightforward and easy to shop for. It does use a curry paste, but still has plenty of freshness.
There is a wonderful depth of flavor (surprising considering it doesn’t even cook for that long!), great texture and flavor contrast from the mix of soft onions, tender chicken meat and buttery chickpeas. And while we love Indian food, it can often seem a bit oily and heavy. This dish is not. It is comforting yet not heavy or greasy. We serve it over a pile of brown basmati rice. Yum.

If you are not familiar with Indian curries, this is a wonderful one to start with. It is mild (I’m a wimp when it comes to hot spices) with only a hint of heat yet has great flavor.
I have never had chickpeas in Korma before but I like it. They took on a wonderful flavor and buttery smooth texture and it is a wonderful way to help stretch out the chicken since they add to the heartiness of the dish.
We actually halved the recipe since it was just the 2 of us and it worked out perfectly with the portion of chicken breast we were able to get from that week’s Surfside Chicken. I divided up the rest of the chicken too, so we had vacuum sealed packs of 2 chicken thighs, 2 wings, 2 drumsticks and the body in the freezer waiting to be turned into another meal.
This is a great dish to make for company since you can make it before your guests arrive, leave it on the stove and simply warm back up before serving. In fact, the first time we made it, my husband finished cooking it by 5pm, we left it on to simmer for a little longer and then turned off the flame, and left it covered on the stove. We warmed it back up at 7pm when we were ready for dinner. I bet the curry flavors developed even further with the extra time. Our brown basmati rice was also just waiting for us to be ready sitting piping hot in our rice cooker.
From Jamie Oliver’s Food Revolution cookbook with notes from our experience.
Serves 4-6
1 3/4 pound skinless boneless chicken breast, preferably free-range or organic
2 medium onions
optional: 1 fresh green chile (we left it out since I’m a wimp)
a thumb-sized piece of fresh ginger
a small bunch of cilantro (an easy herb to grow in your yard!)
1 15oz can of garbanzo bean (chickpeas)
peanut or vegetable oil (We used olive oil. Using Ghee would probably be delicious as well)
1/2 cup korma or mild curry paste, such as Patak’s
1 14oz can of coconut milk
a small handful of sliced almonds, plus extra for serving
2 heaping tablespoons of unsweetened shredded coconut
2 cups natural yogurt
1 lemon
To prepare your curry
Cut the chicken into approximately 1-inch pieces or thin slices. I find slices will result in more tender and flavorful chicken.
Peel and finely slice the onions.
Halve, seed and finely chop the chile if using it.
Peel and finely chop the ginger. If you don’t like eating ginger, be sure to chop it finely so that it melts away in the dish or cut slightly large pieces/slices so you get the flavor but you can easily opt to not eat the ginger pieces themselves.
Pick the cilantro leaves and finely chop the stalks. (love that both stalks and leaves are used!)
Drain the garbanzo beans.
To make your curry
Put a large casserole-type pan on high heat and add a couple lugs of oil. Once hot, add the onions, chile, ginger, and cilantro stalks with the butter. Keep stirring it enough so it doesn’t catch and burn but turns evenly golden. Cook for around 10 minutes. Add the curry paste, coconut milk, half the sliced almonds, the drained garbanzo beans, unsweetened shredded coconut and chicken breasts. Half fill the empty coconut milk can with water, pour it into the pan and stir again. Bring to a boil, then turn the heat down and simmer for 30 minutes with the lid on.

Check the curry regularly to make sure it’s not drying out, and add extra water if necessary. When the chicken is tender and cooked, taste and season with salt and pepper – please season carefully. I did add a fair amount of salt, you’ll want to taste, add some salt if needed, stir and let cook for a few minutes, then taste again to see if it still needs more or not. Better to add little by little than overdoing it.
To serve your curry
Jamie includes various recipes for making rice as options to serve with this dish. Good old plain basmati rice works well. In fact, we used brown basmati rice and thought it was perfect.
Jamie also suggests: Add a few spoonfuls of natural yogurt dolloped on top and sprinkling over the rest of the sliced almonds. Finish by scattering over the cilantro leaves and serve with lemon wedges for squeezing over.
We served individual plates, since it was just 2 of us. I put a heafty scoop of rice on my plate (really a pasta bowl), hollowed out the middle and filled it with a few serving spoons full of korma. Very pretty. We skipped the yogurt, even though we had gotten a small container of Greek yogurt for the dish. We found the dish rich enough that we didn’t feel it needed the yoghurt. We did sprinkle on the cilantro leaves (we chopped them a little first) which made the dish look extra pretty and added nice fresh flavor. We completely forgot about the lemon wedges since we were hungry and excited to eat! It was still amazing, so if you don’t happen to have lemons, don’t sweat it.
INSTAGRAM @cheer_industries