
FLEXIBLE QUICHE
/
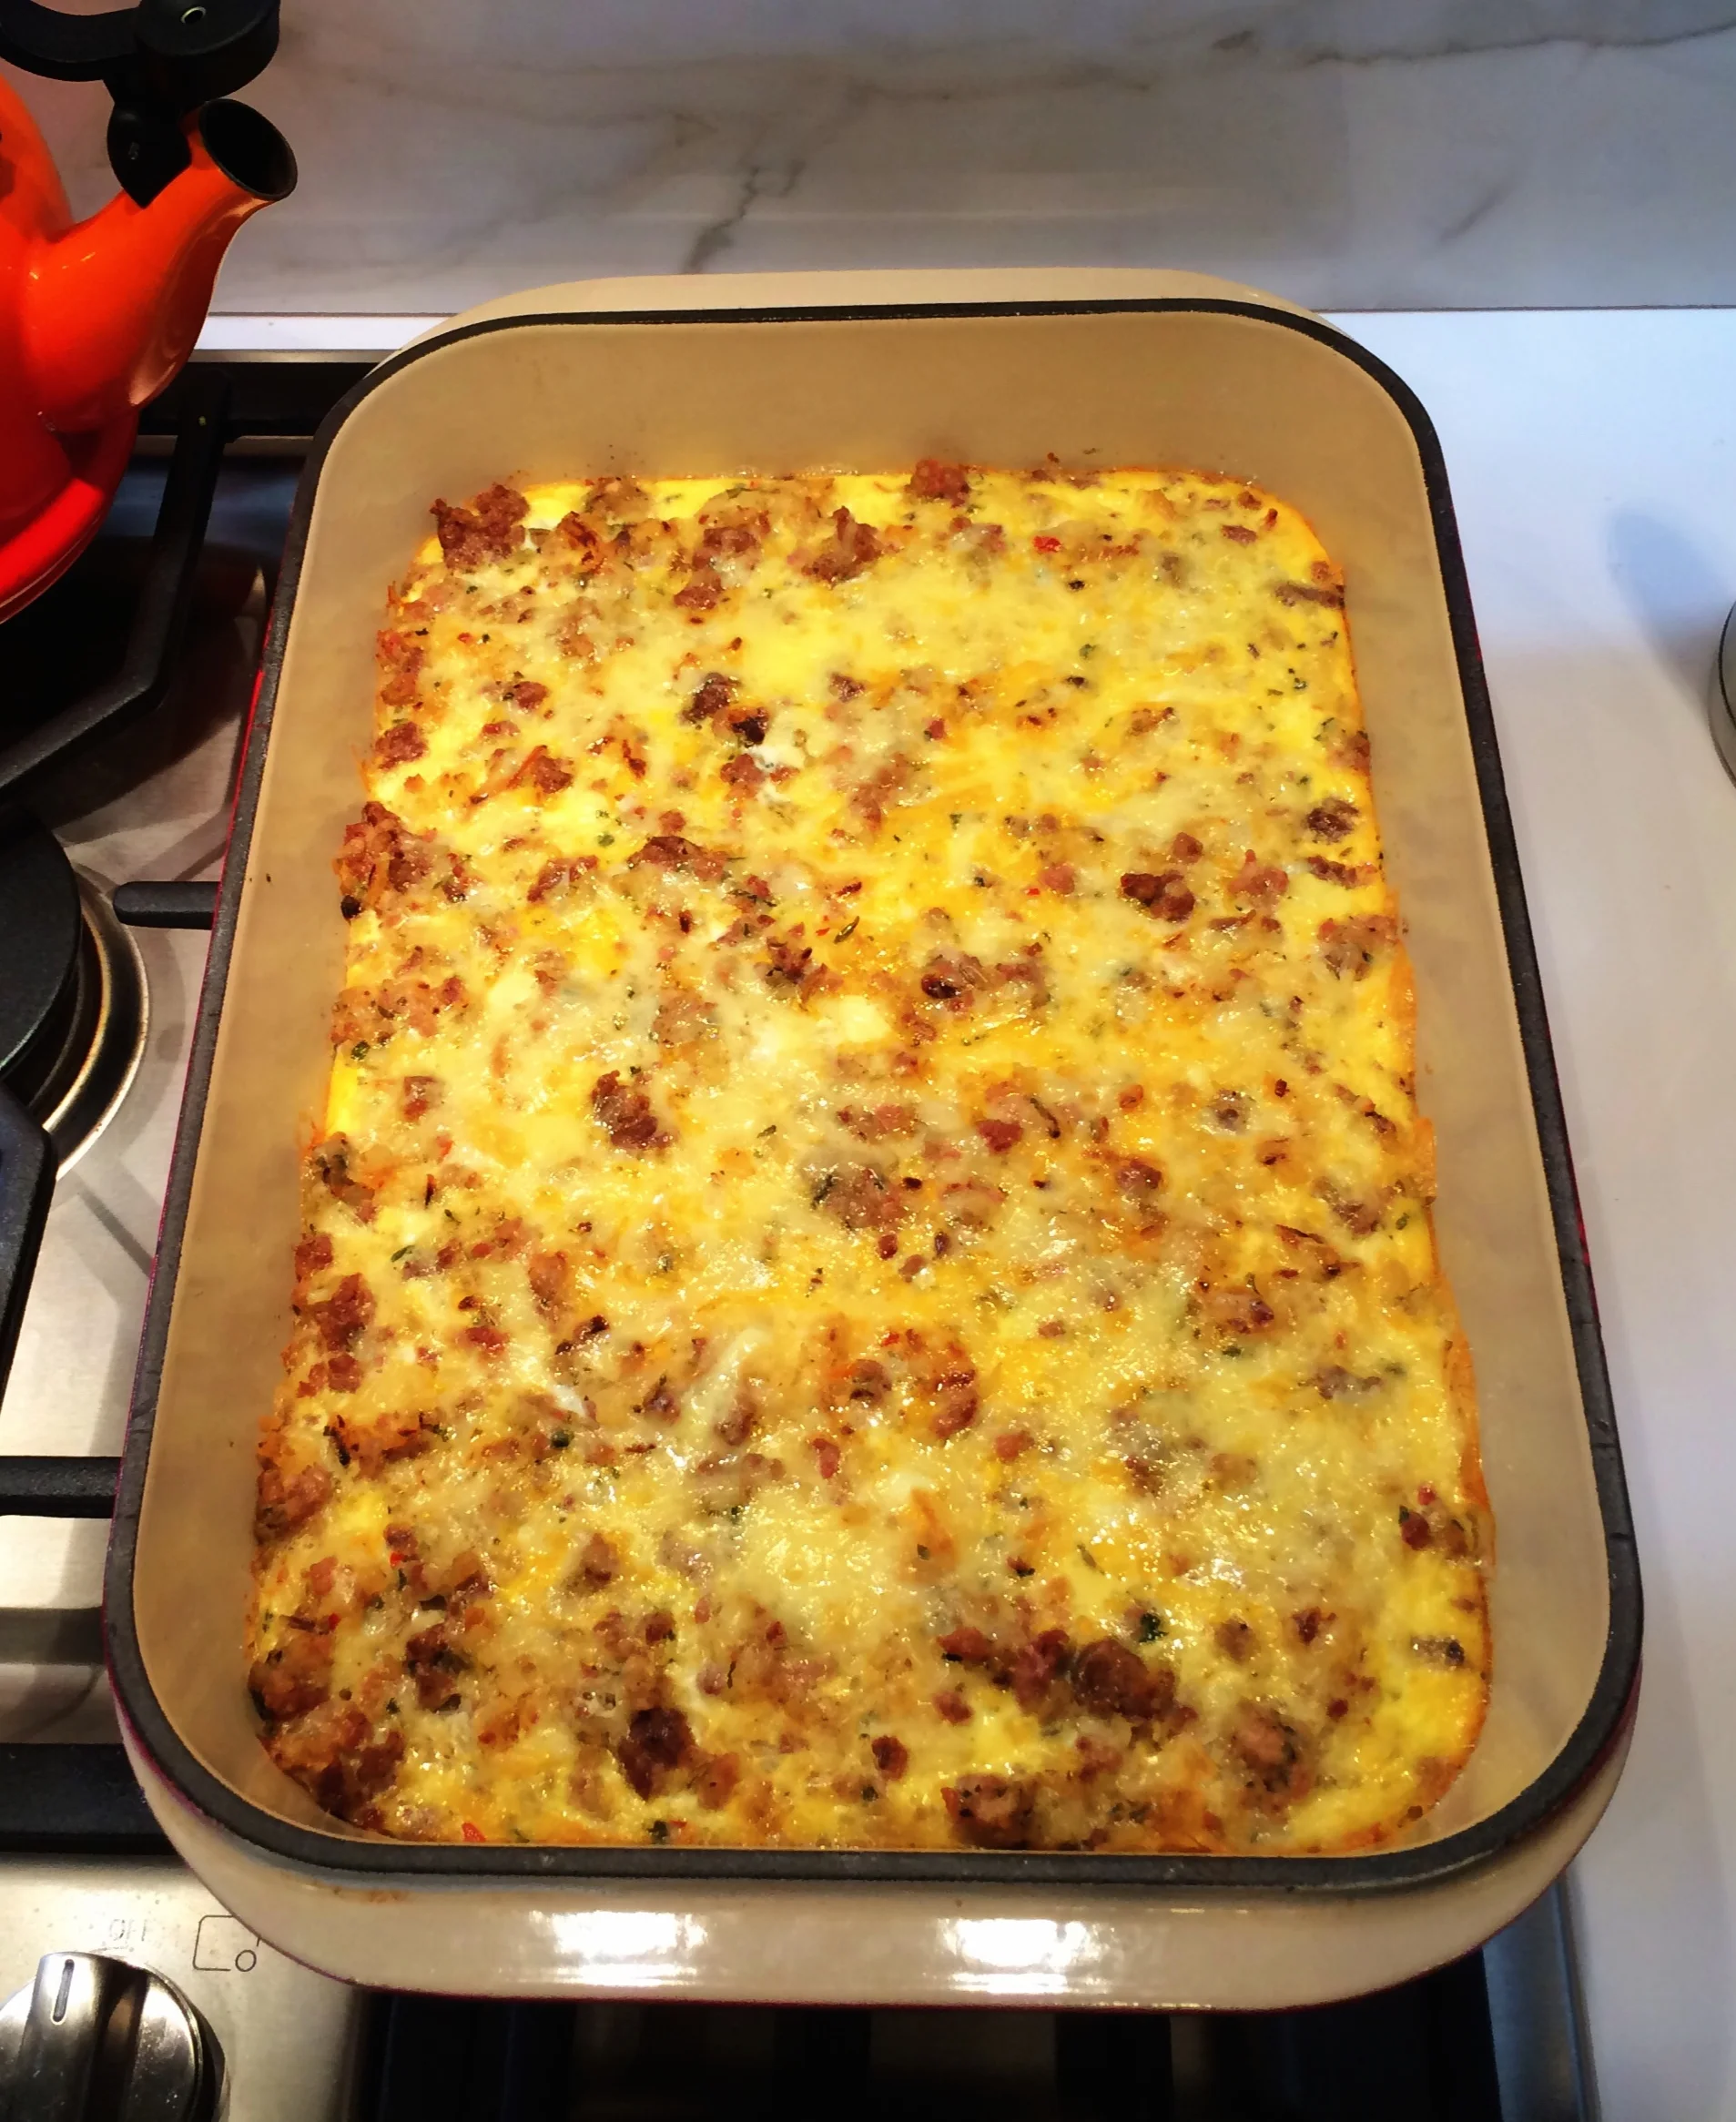
Part of our Easter Brunch spread
Quiche is such a versatile dish to have in your repertoire . They are great for an easy weeknight dinner with a little side salad or as part of weekend brunch gathering spread. I love to serve them at larger gatherings because they are great room temperature, and it is so helpful if you don't have to worry about keeping something warm. It is also easy to make meat filled or vegetarian versions. You can even keep it gluten free by using a gluten free pie shell.
This is a basic recipe that where you fill in the blanks with your favorite fillings. For large gatherings, we usually make two so we have one with bacon and a veggie only version.
Flexible Quiche
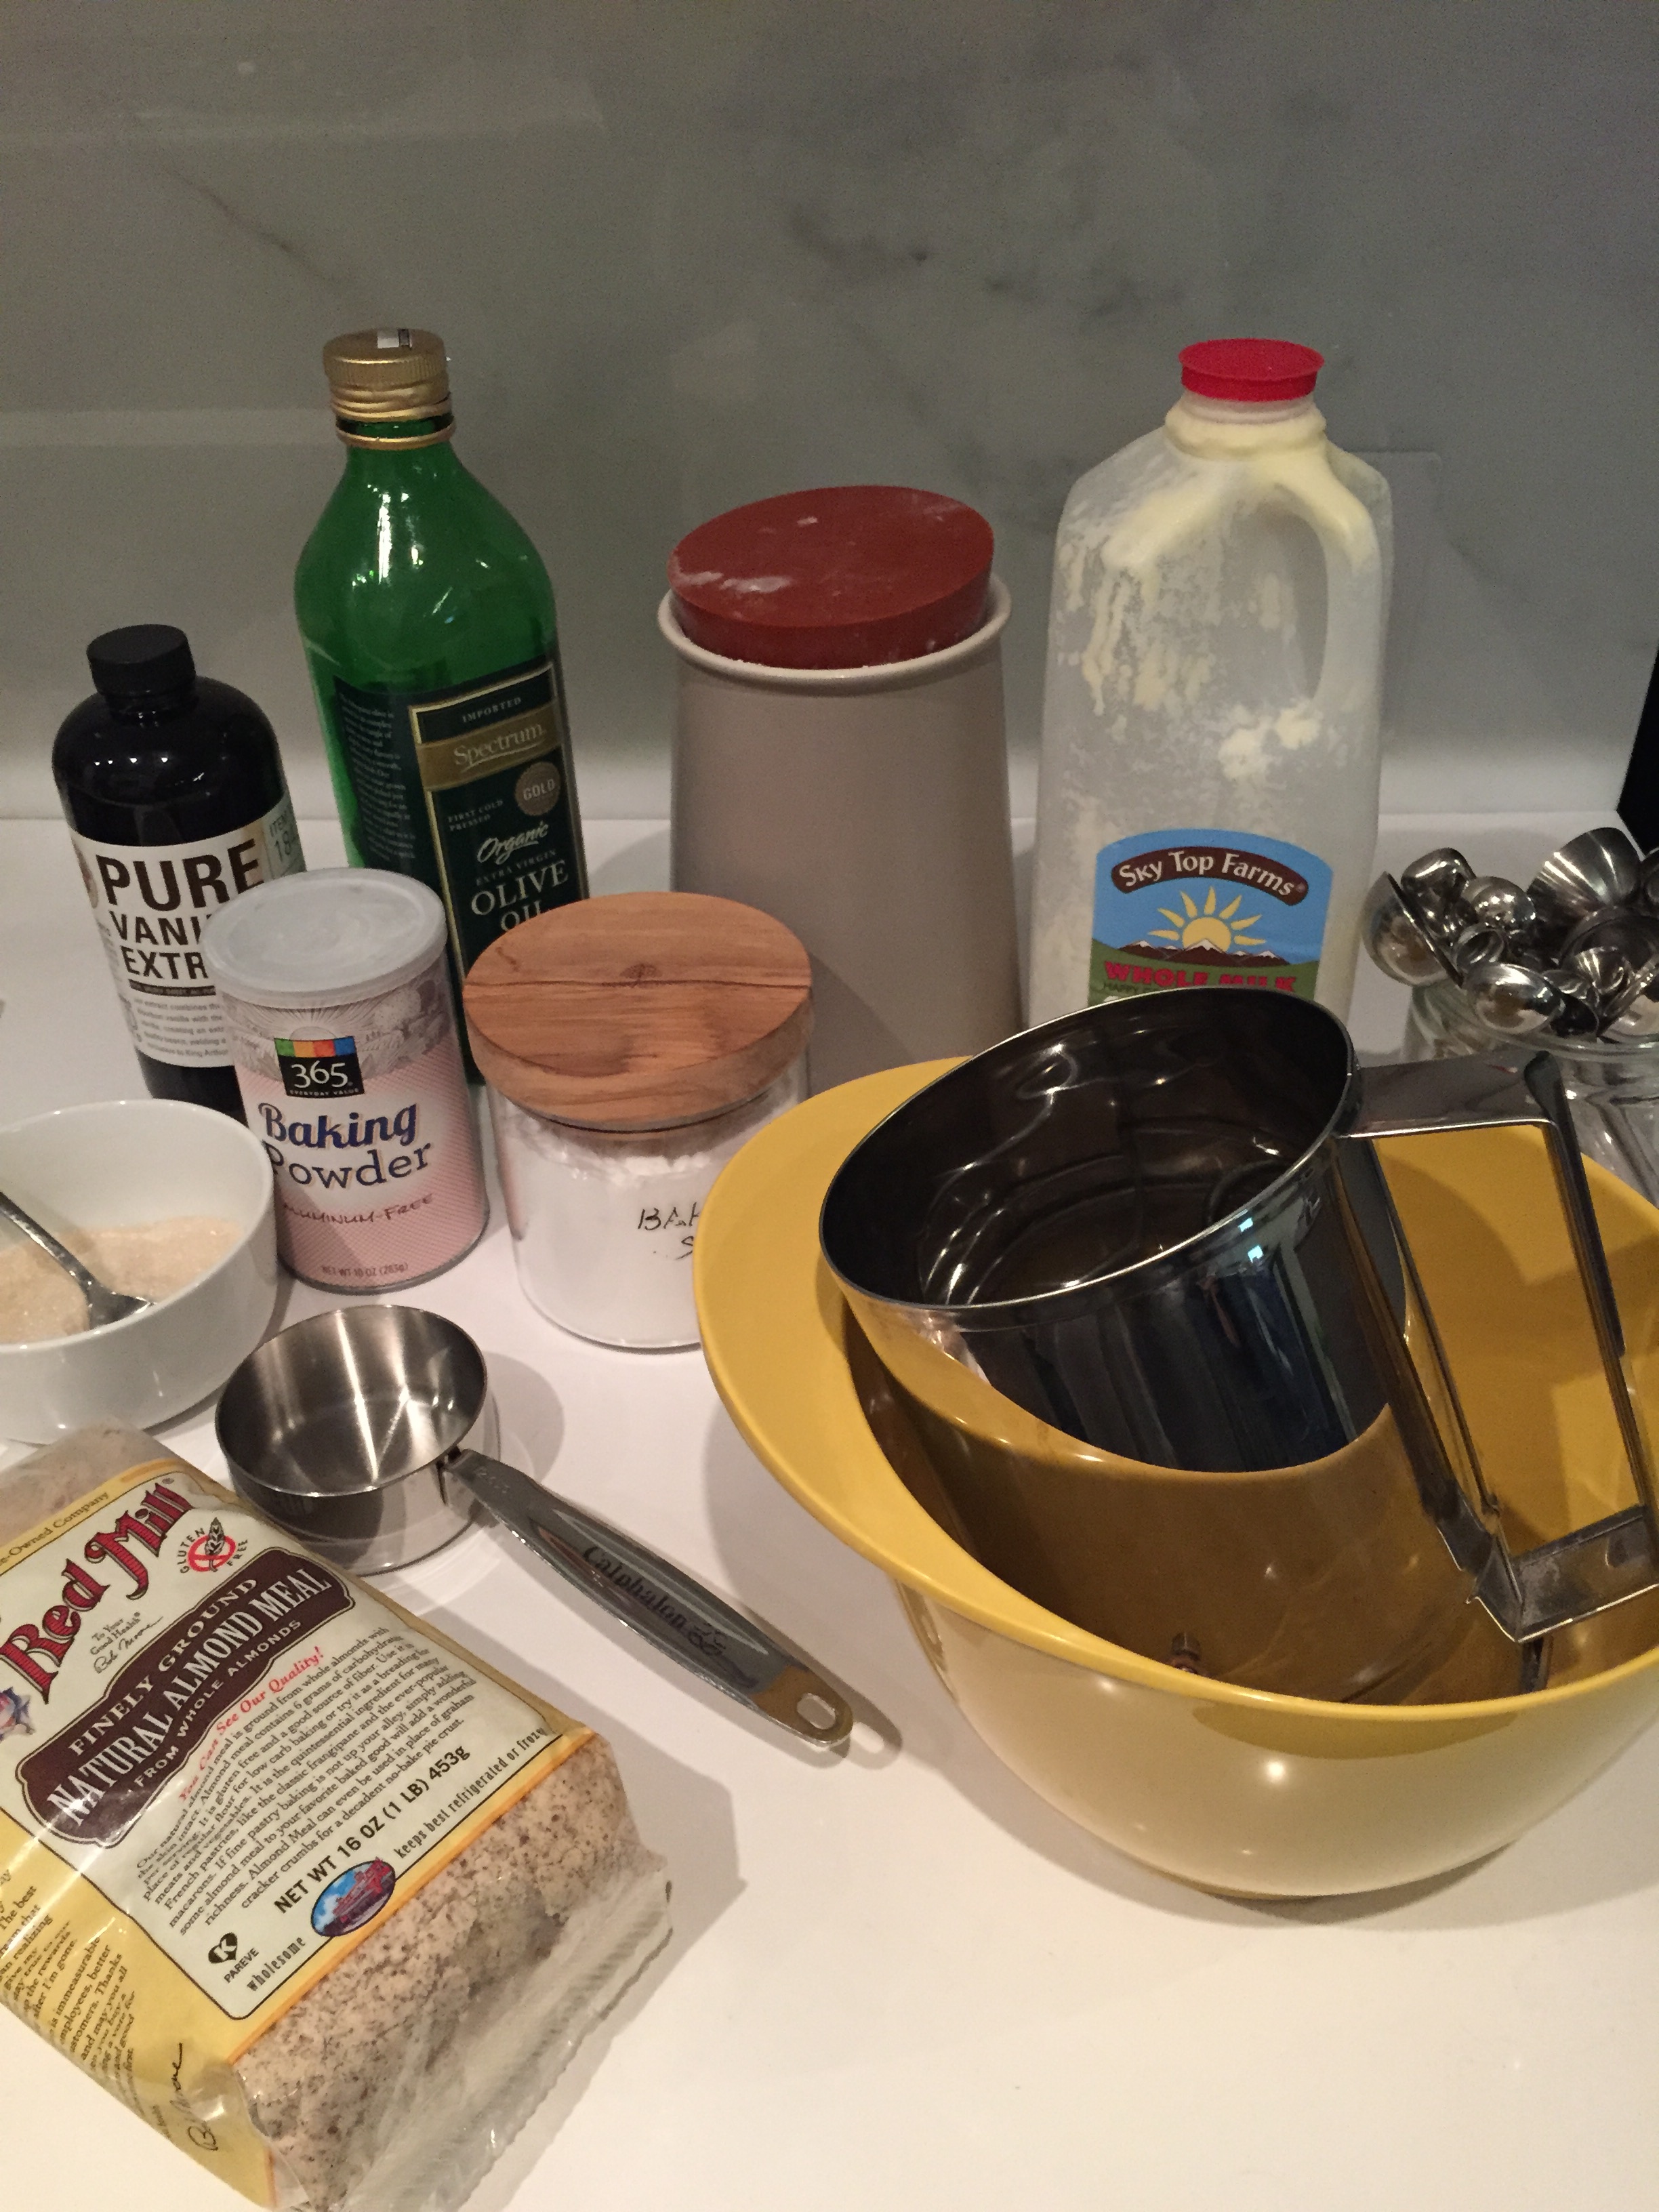
Ingredients

Ready for the egg mixture to be poured in. When cooking 2, it makes it easier to move in and out of the oven if you place them on a baking sheet.
3/4 cup cooked filling (not including eggs or cheese) - whatever you want to put in in, e.g. asparagus/onion/thyme, bacon/broccoli/onion, mushroom/onion or shallots
5 - 6 eggs
1 cup shredded gruyere
¾ cup half and half
Pie shell (feel free to use frozen store bought, it make everything so easy!)
Salt to taste
Directions
Preheat oven to 375°F.
Prepare your 3/4 cup of filling
Cook your filling so you end up with about 3/4 cup worth of filling. If you use asparagus or broccoli parboil them for a just a few minutes to soften just a little. If you are using bacon, slice the bacon into strips and then pan fry until crispy. Remove the bacon from the pan onto a plate or bowl lined with a paper towel to absorb excess oil. Then sauté the rest of your filling adding a little salt to taste (if using onions, get that started before your other vegetables) until everything is cooked. Set aside.
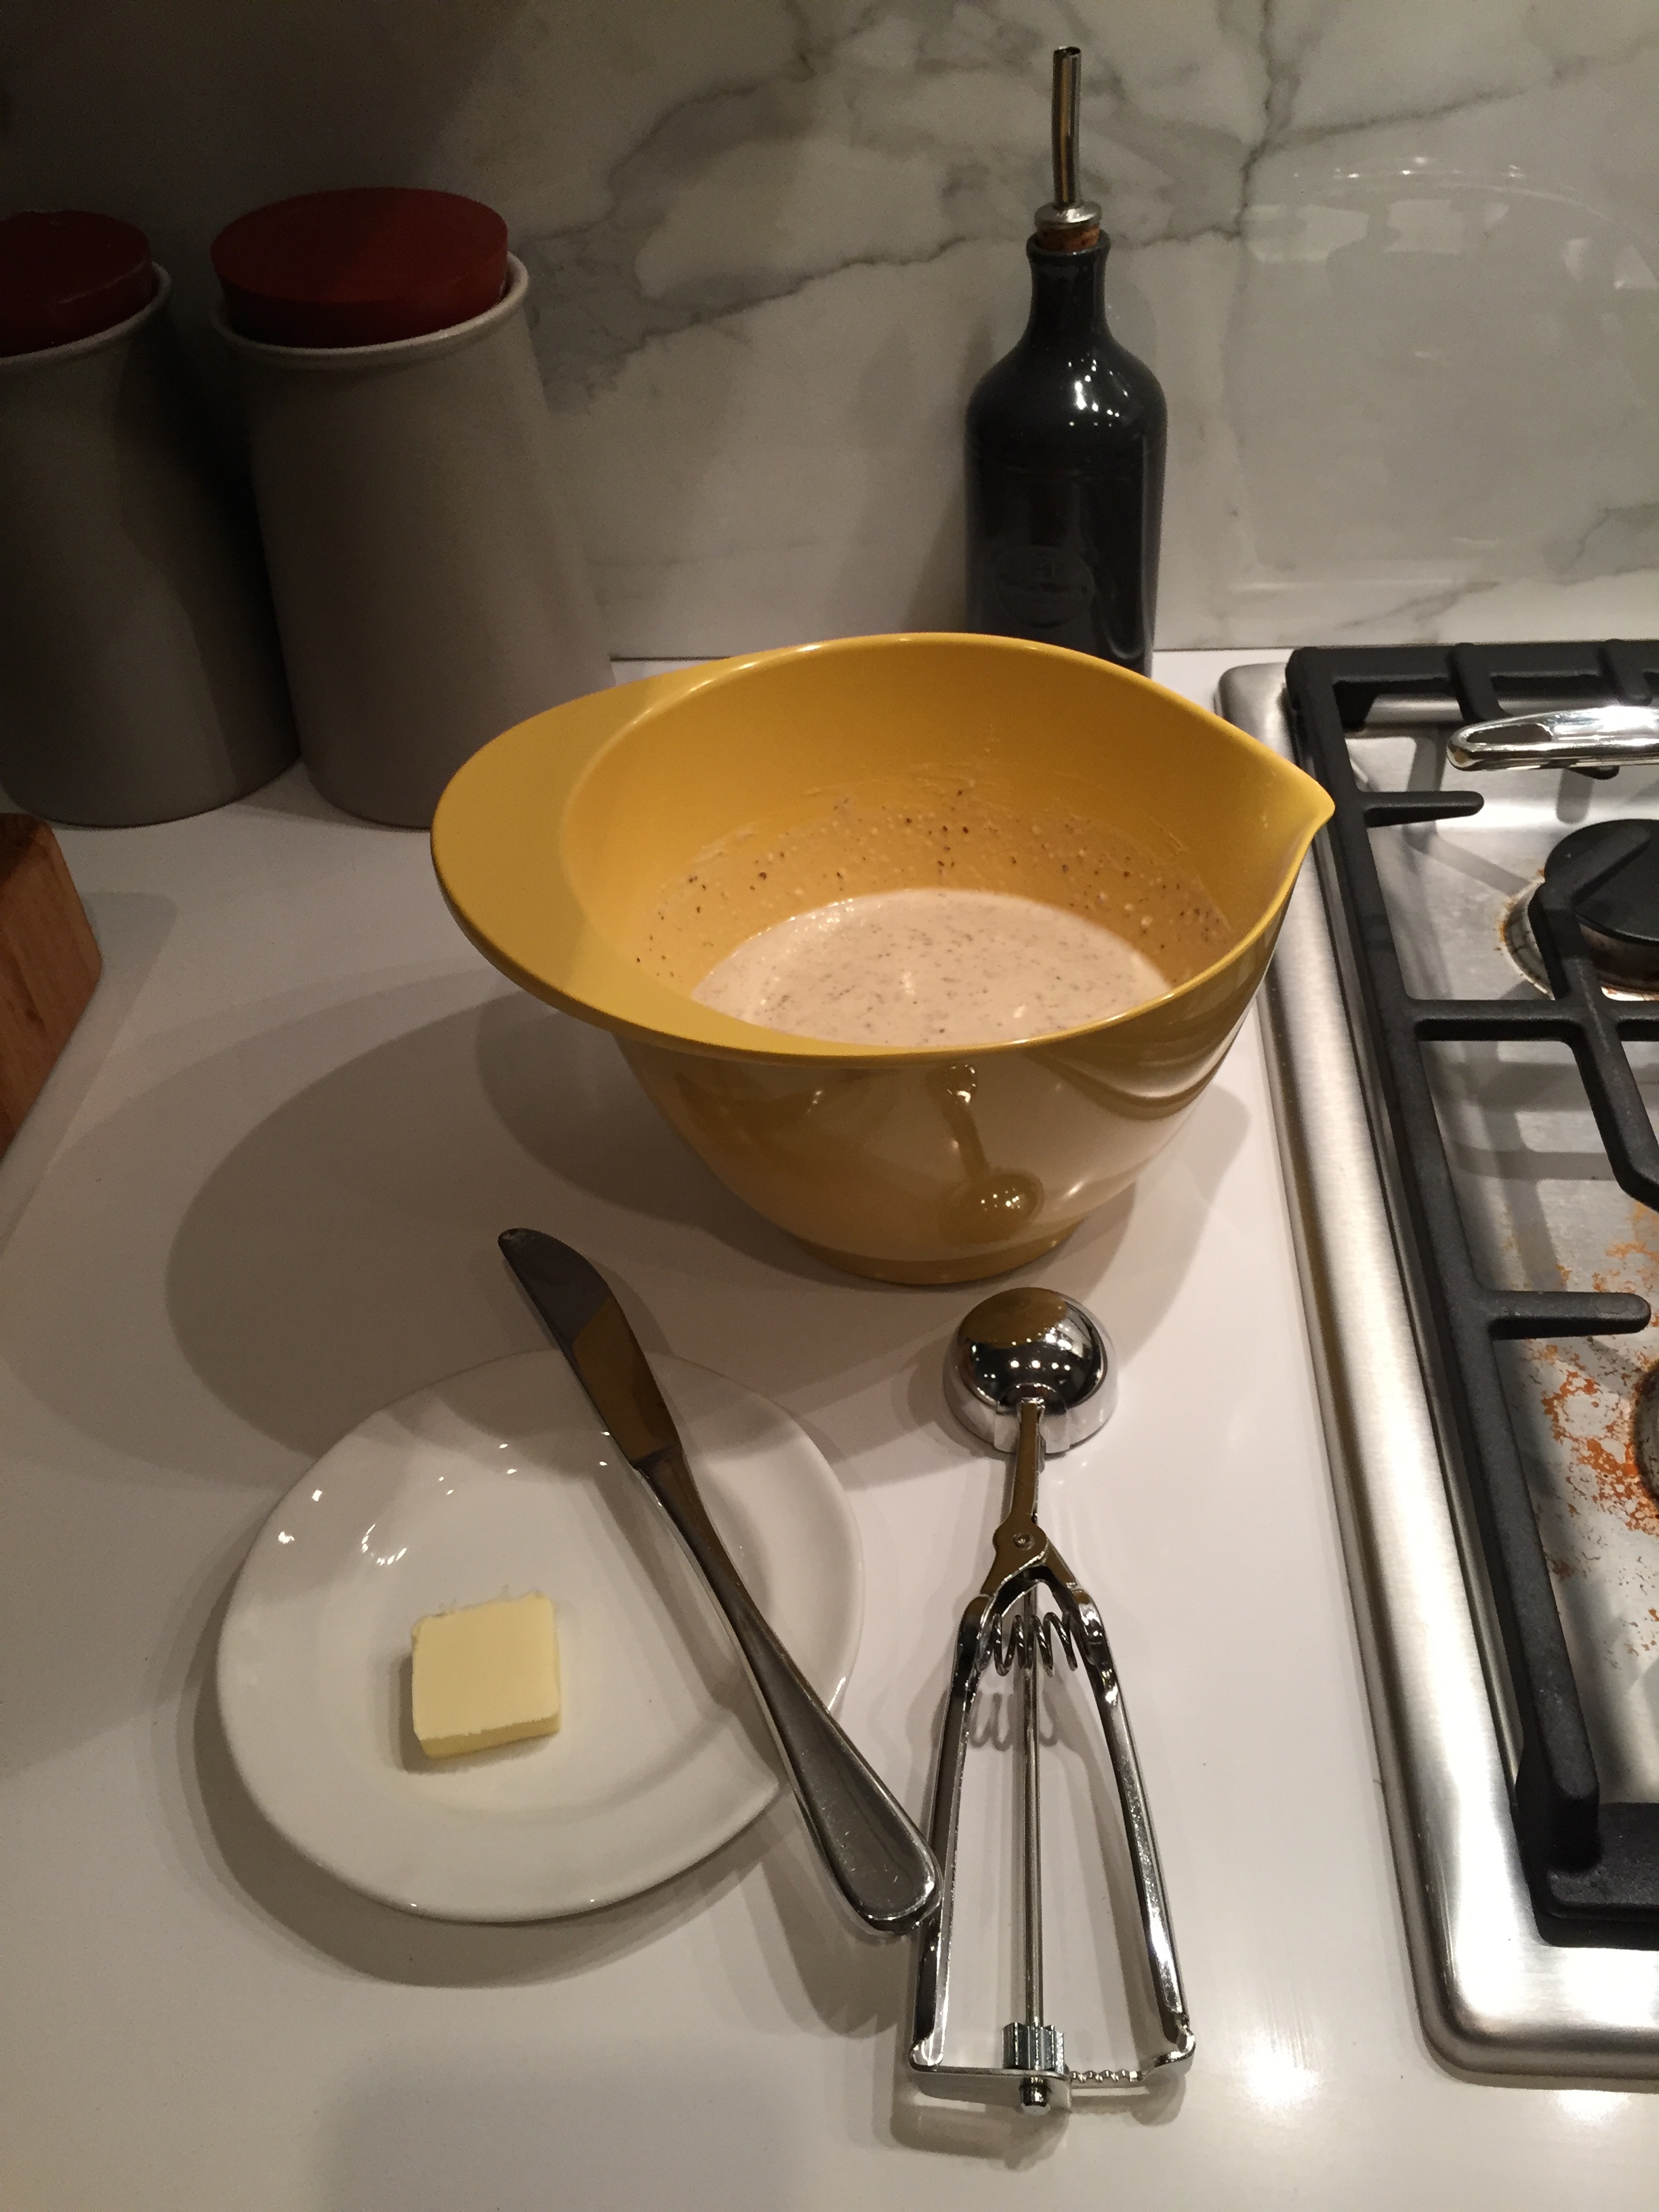
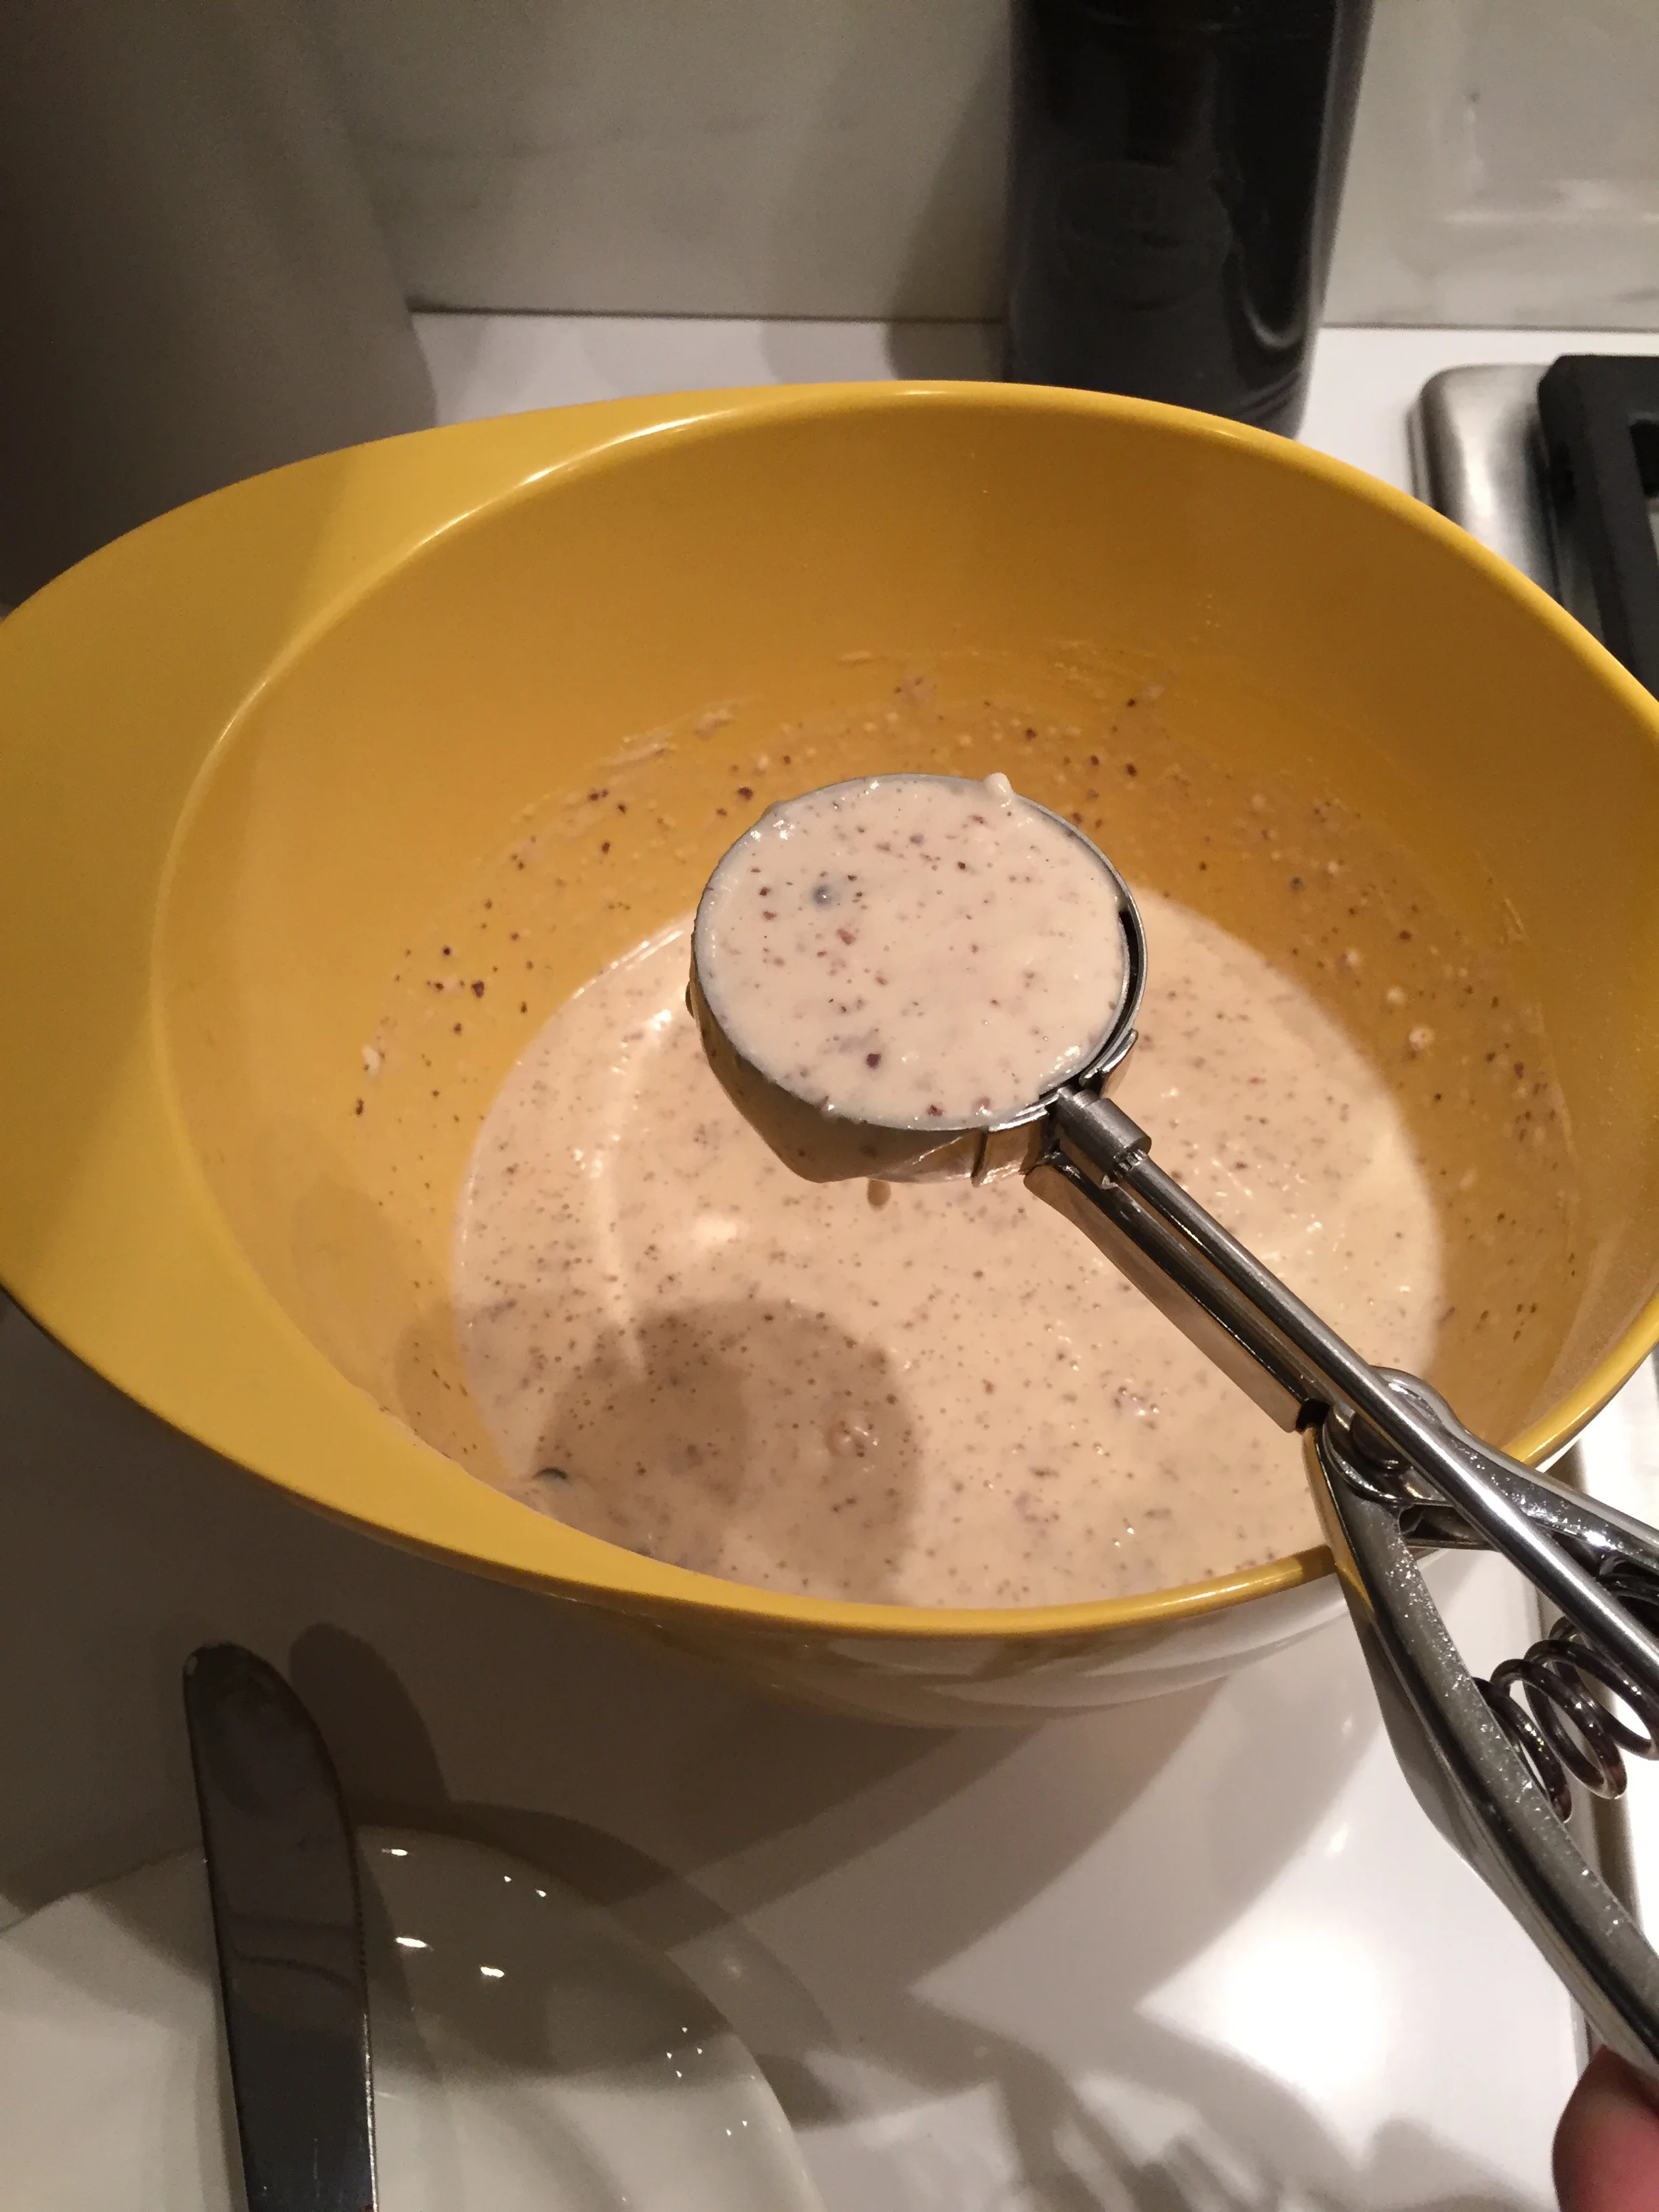
Prepare the eggs and cheese
Whisk eggs and half & half together with a little salt.
Grate cheese.
Assemble and bake
Spread most of the cheese on the bottom of the pie shell (which you can use from frozen), layer filling, then pour the egg mixture on top. Sprinkle remaining cheese on the top.
Bake in the middle of your oven for 30 - 35 minutes until it looks firm and done. Test by poking something in the middle. Let sit for at least 15 mins before serving to finish setting.